Redeemer
Redeemer - The programmable Macro Board.
About.
I’ve been interested in Mechanical Keyboards for some time after discovering them. Personally I use a Poker3 which has now been discontinued, it has Cherry MX Blue switches which are very nice and clicky.
After opening the Poker3 to modify some LED’s onto the motherboard one day I wondered just how easy it would be to design a keyboard of my own of some sorts. Redeemer is not the first but the second keyboard I have made but it’s size makes it more of a macro board. That is it’s intended use afterall.
The Hardware.
I designed the Keyboard to be open source both hardware and software, it uses an Arduino Leonardo (Pro Micro) as this perticular Arduino features the Atmega32u4 chip. This is important because this chip can act as a USB HID device and along with the Keyboard.h library from Arduino we can act as a Keyboard but not just any keyboard. A fully programmable one in which we have much more control as to what speed we want key’s pressed, what combinations of keys we want, when we press a key do we want to press one or multiple keys? The list really is quite endless.
Hardware list:
- 1 x Arduino Pro Micro (Leonardo)
- 8 x Gateron Blue Switches
- 8 x RGB LED’s
- 3 x Layer indication LED’s
RGB LED’s.
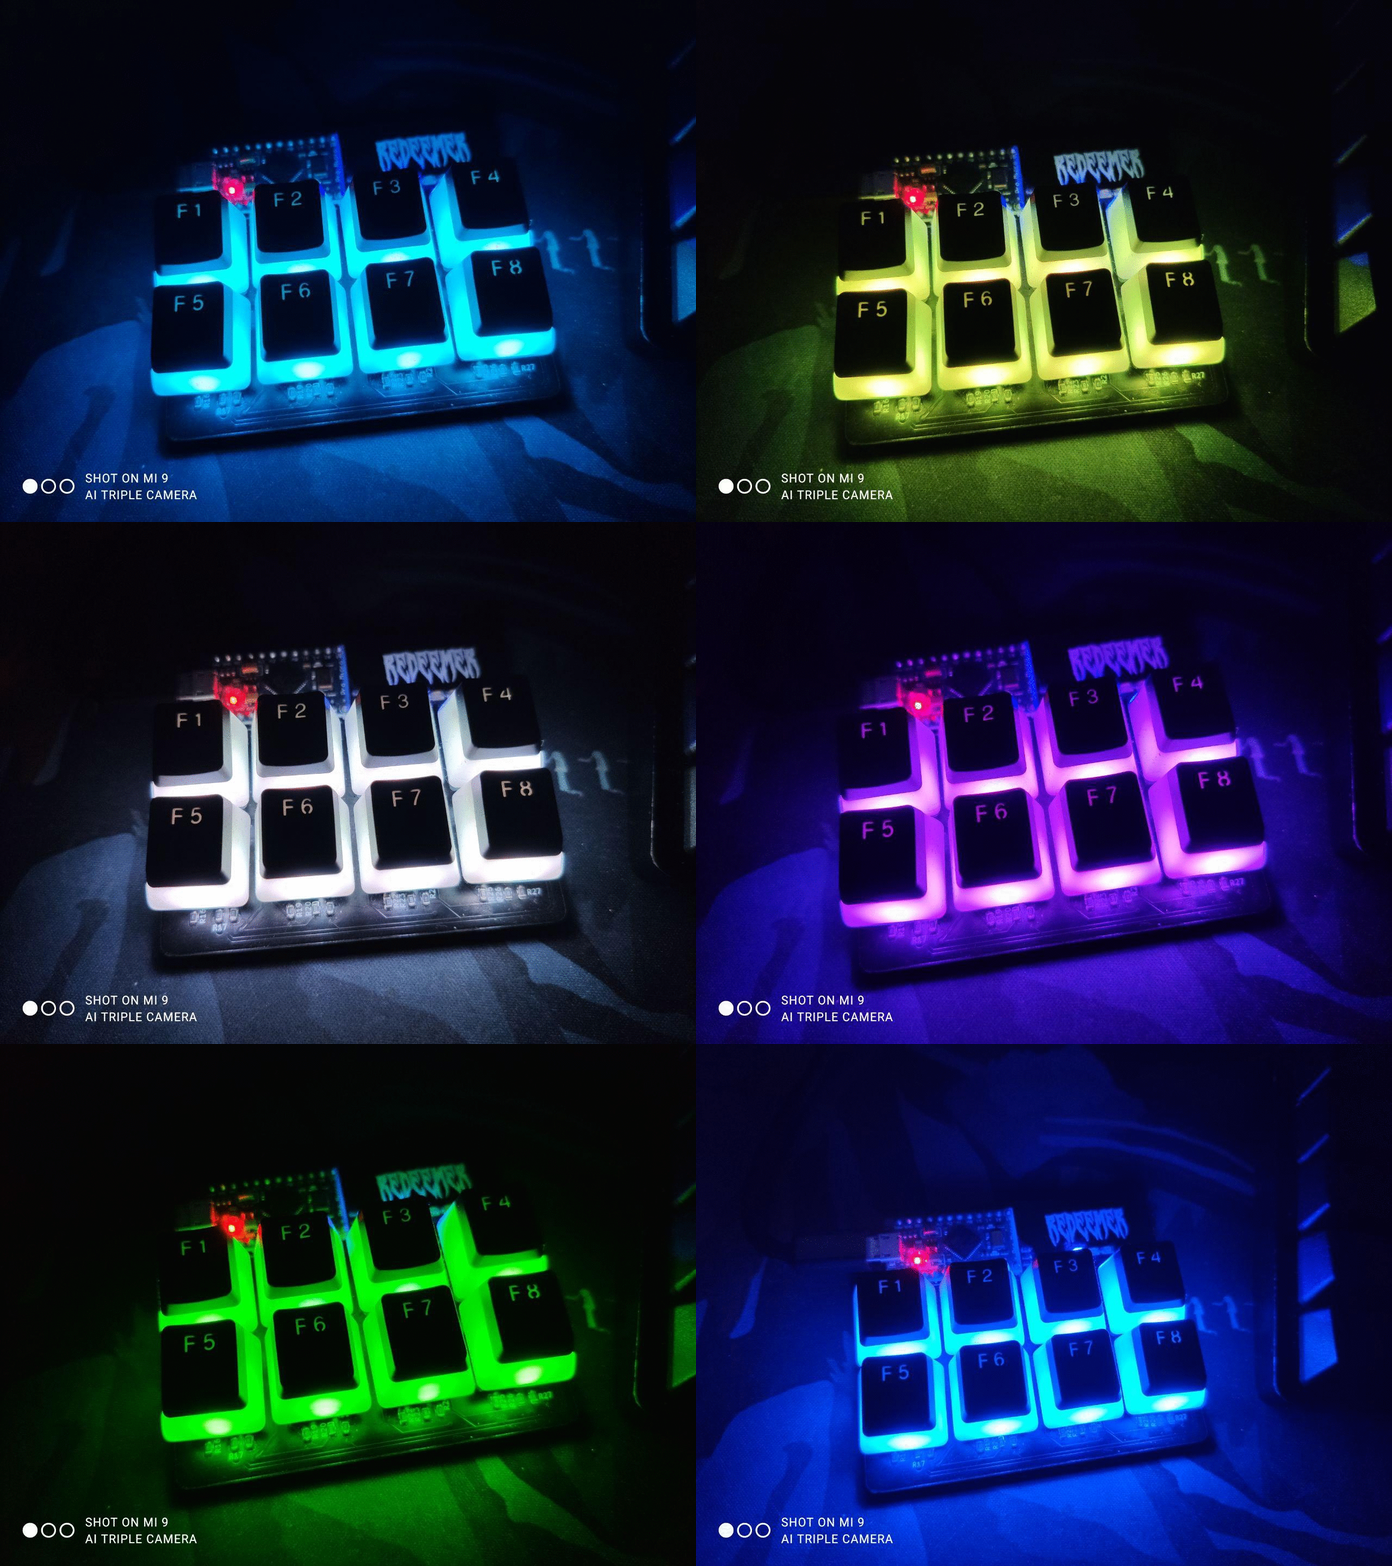
The RGB LED’s are situated under each keycap resting on top of each Mechanical switch. I used through-hole LED’s for this an advantage of using these are they are easy to take out and the pudding keycaps I am using on top of them really stand out with the light. The disadvantages of these LED’s are in the current configuration I can’t make them standalone, meaning they are all the same colour at the same time.
Here is a GIF of me cycling through the colours, I have programmed mine to change when F1 and F5 are hit simultaneously.

Layers.
When I designed this board I wanted to have multiple layers this is also a feature on many mechanical keyboards these days. If you don’t know what a layer is think of it as having a normal english keyboard but at the press of a key combination the whole keyboard switches to another language. Layers are basically a way of repurposing keys and being able to switch from say photoshop shortcuts to windows shortcuts.
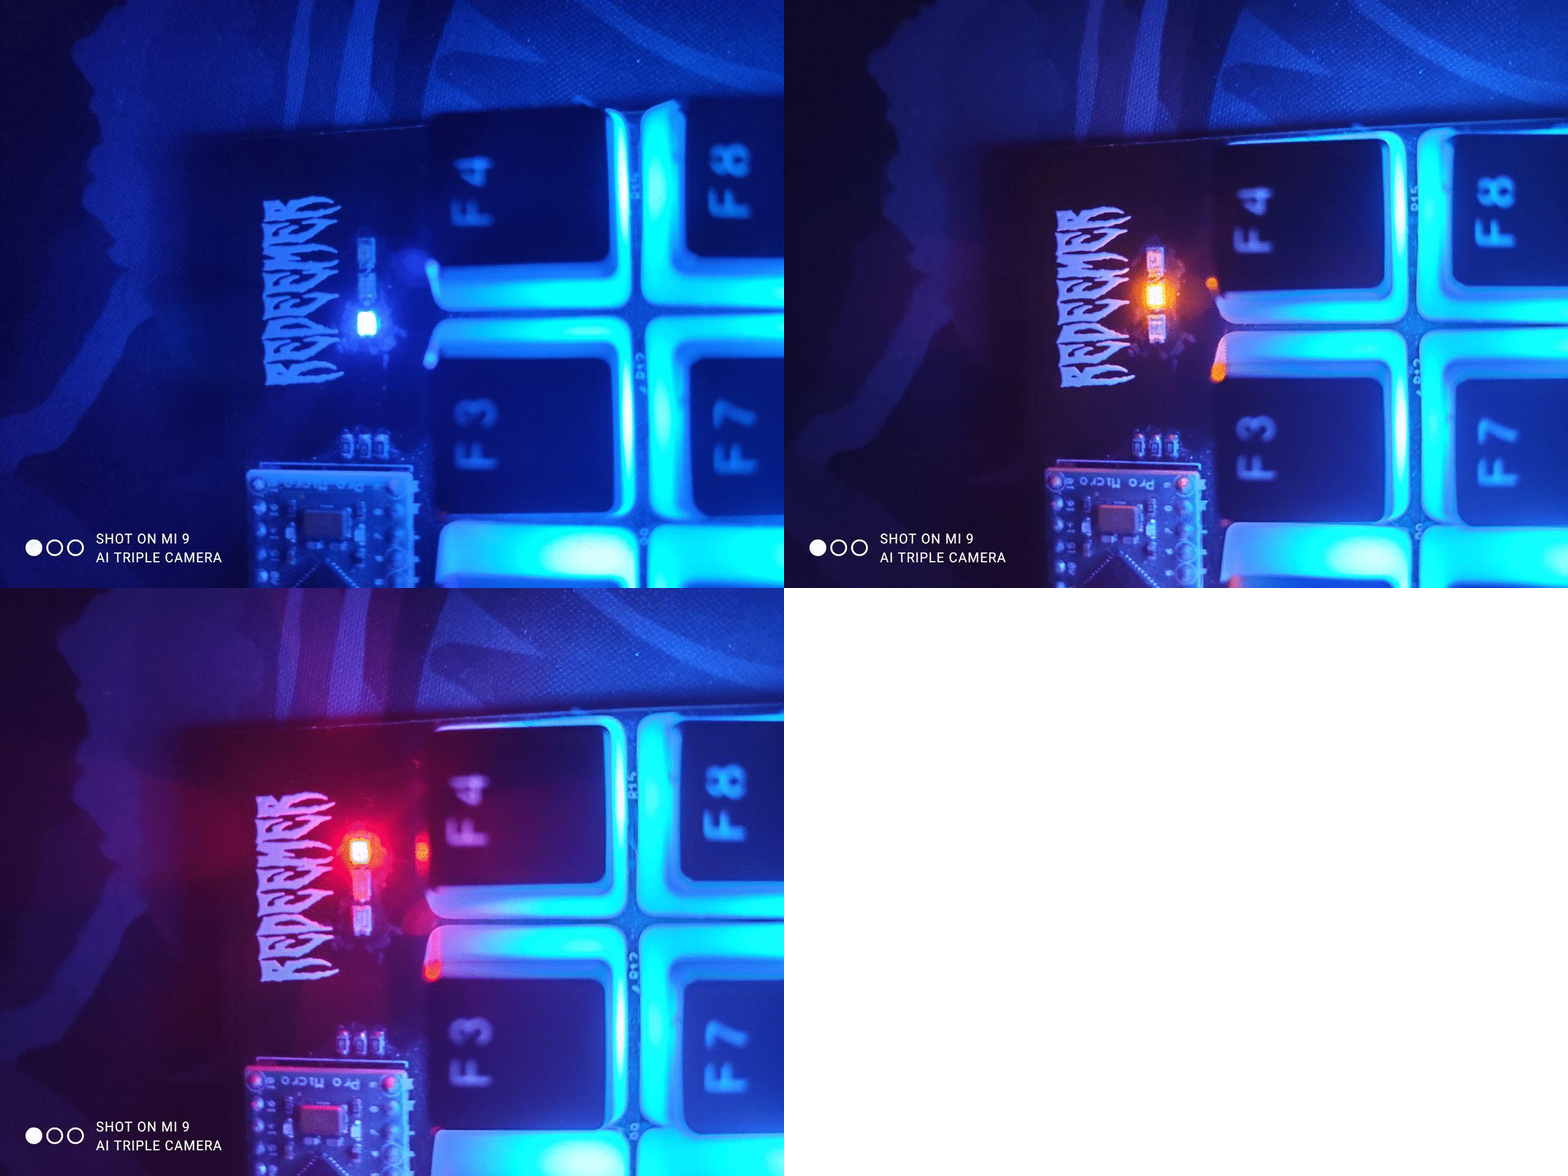
I programmed my keyboard to have 3 layers, which layer you are on is indicated by which LED is lit up out of a possible 3 LED’s. You always start on the first layer.
Here is another GIF of the layers in action, I bound my layer switch keys to F4 and F8 being hit simultaneously.

The switches.
The switches I picked are Gateron blues. The difference between my Poker3 Cherry MX blues and the Gaterons are pretty minimal in my opinion. I do think of Gateron blues to basically be the off brand version of Cherry MX blues however Gaterons are much cheaper especially if you order them from China in bulk. They still provide a clicky sound similar to that of the Cherry Blues but if you want real authentic MX switches go for the Cherry blues.
Another major problem for me with selecting Cherry blues for this build is that you can only place single colour LED’s into a Cherry MX blue switch as it only has room for two pin LED’s and RGB LED’s come with 4 pins. Gateron solves this issue for me as the base has holes for 4 pins.