Thinkpad X230 Usb C Mod
Thinkpad X230 USB-C Power Delivery Mod.
Lately I have taken to standardizing all my devices now to USB-C as I have bought a Ravpower USB-C power delivery charger and this works for my work laptop, soldering iron, electric screwdriver but does not for my old Thinkpad X230.
This is where the cheap ZYPDS Type-C power delivery board comes in as we can replace the original jack. Another issue for me is that the modification that is usually done requires either a 3D printer or to buy a 3D printed part to replace the original yellow DC jack on the back of the thinkpad.
I have opted for another route, the useless Kensington lock I will never use on the right hand side of my thinkpad.
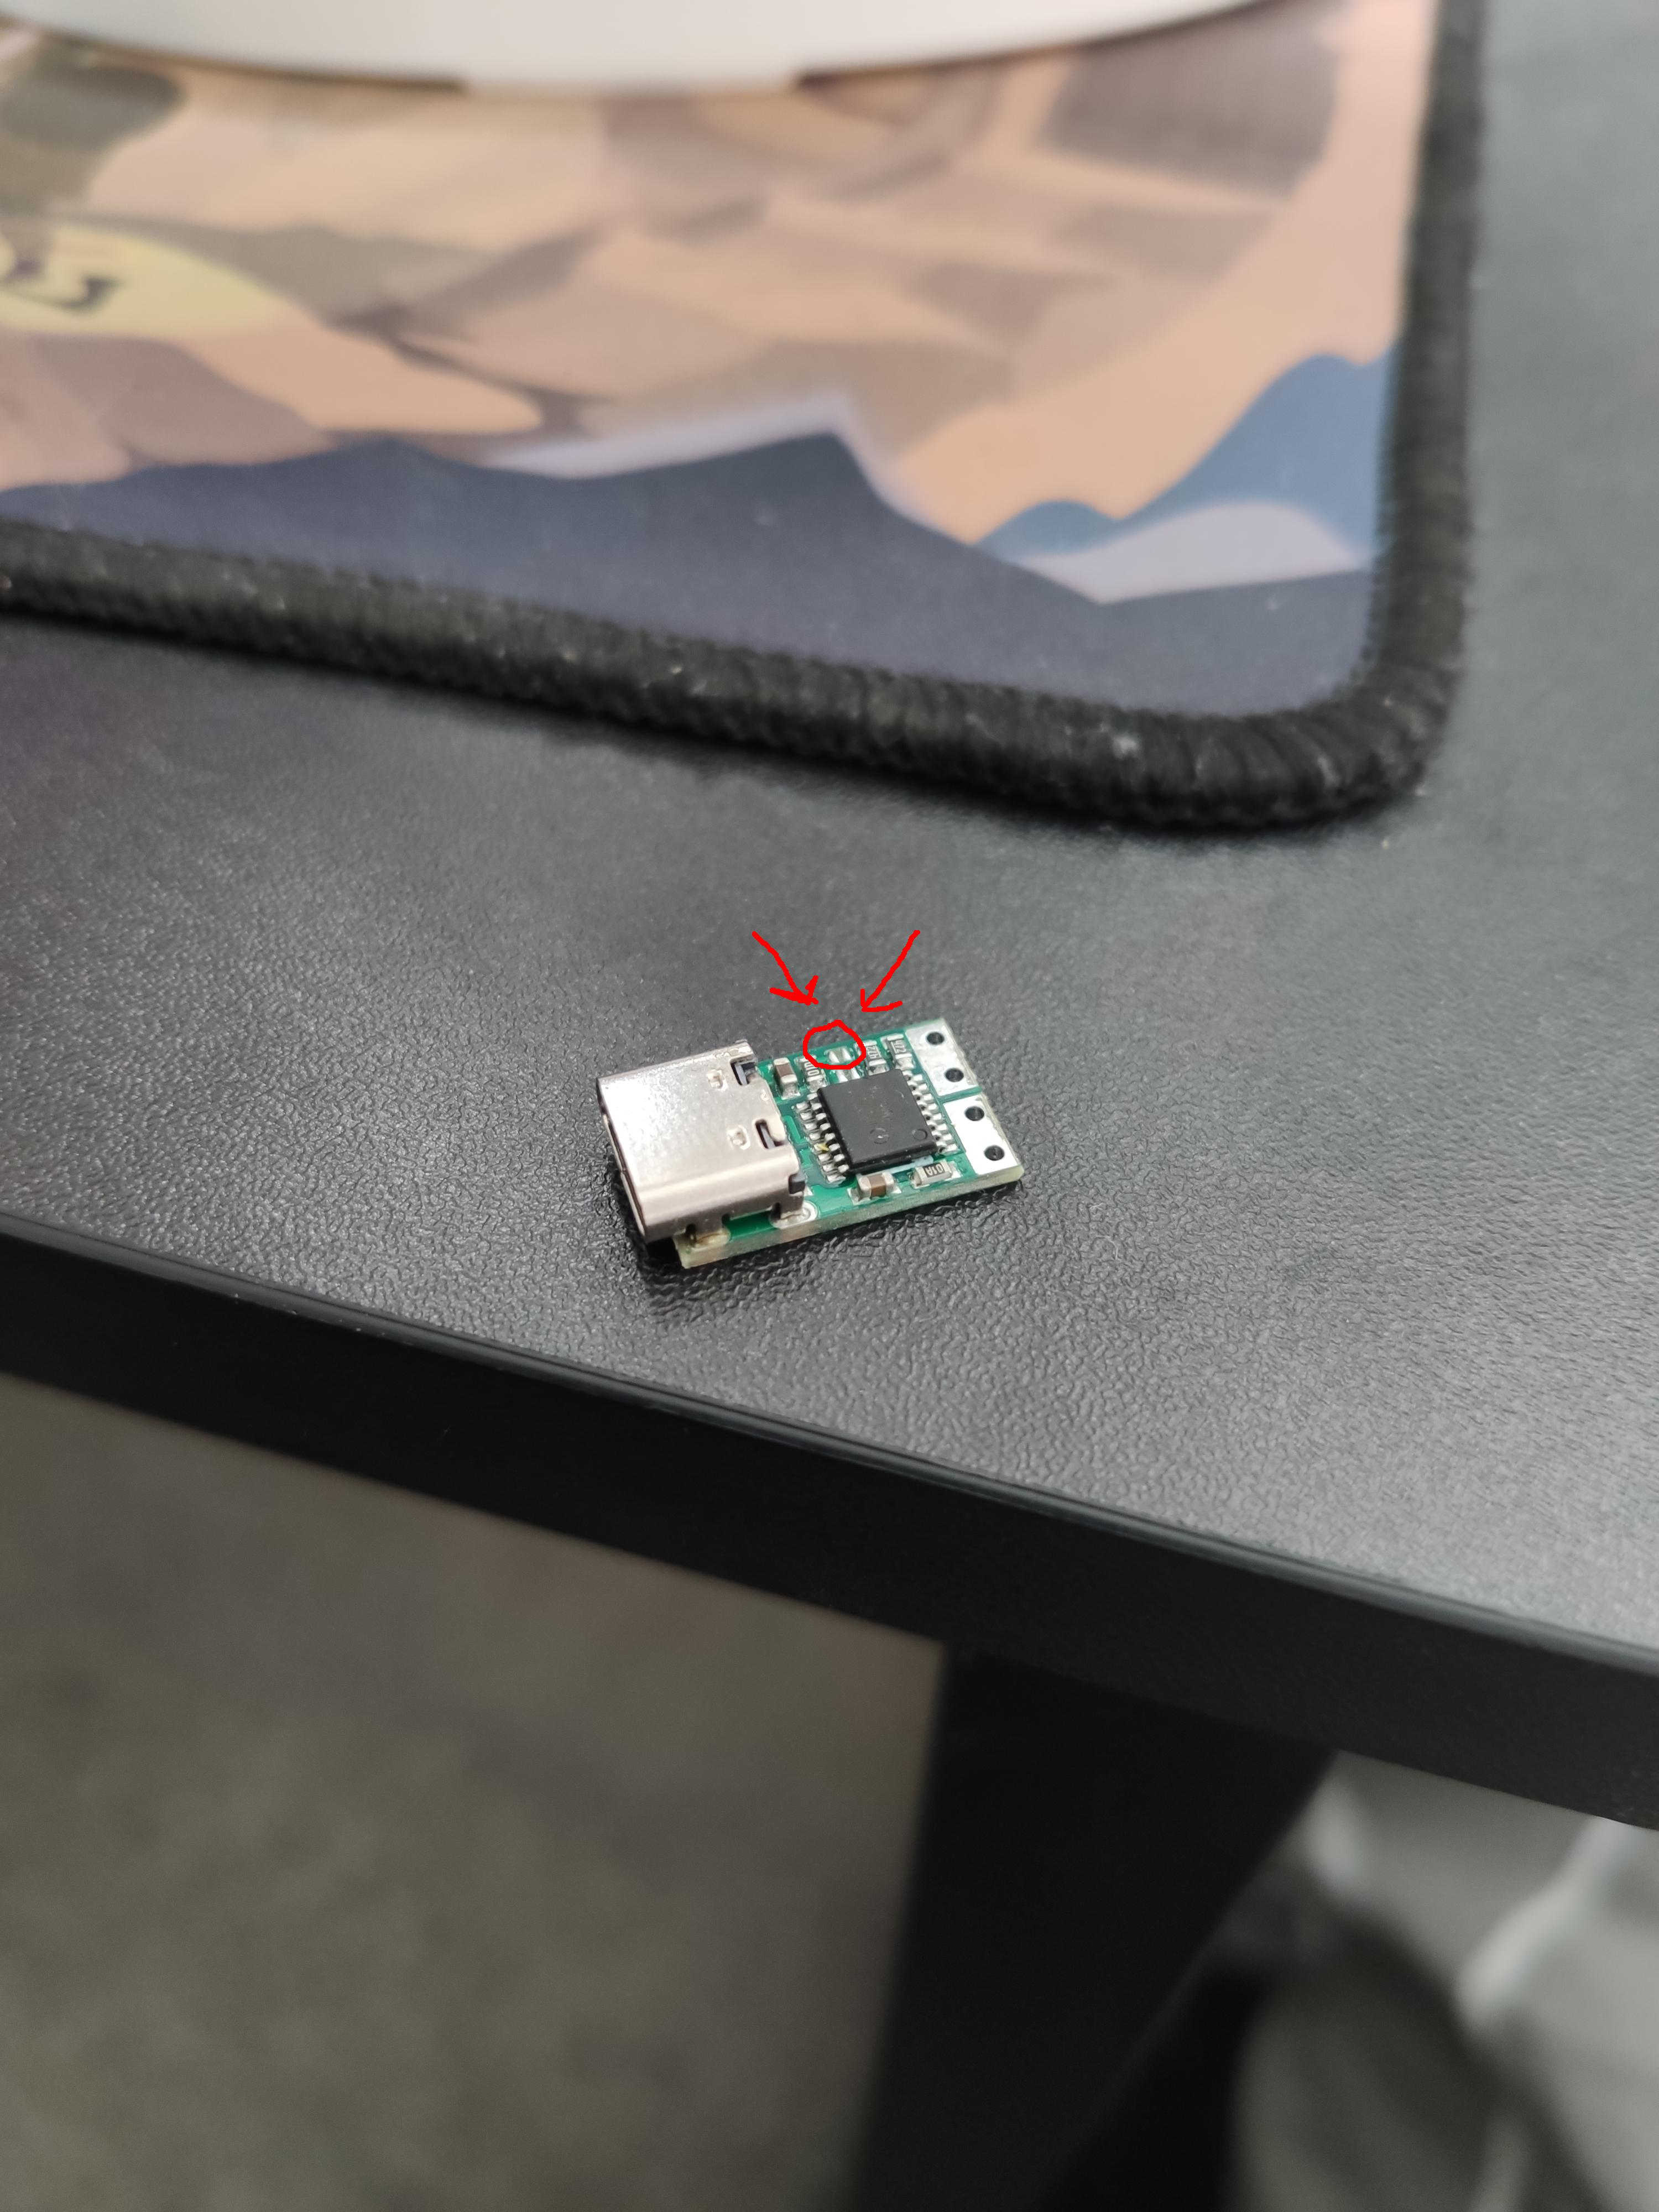
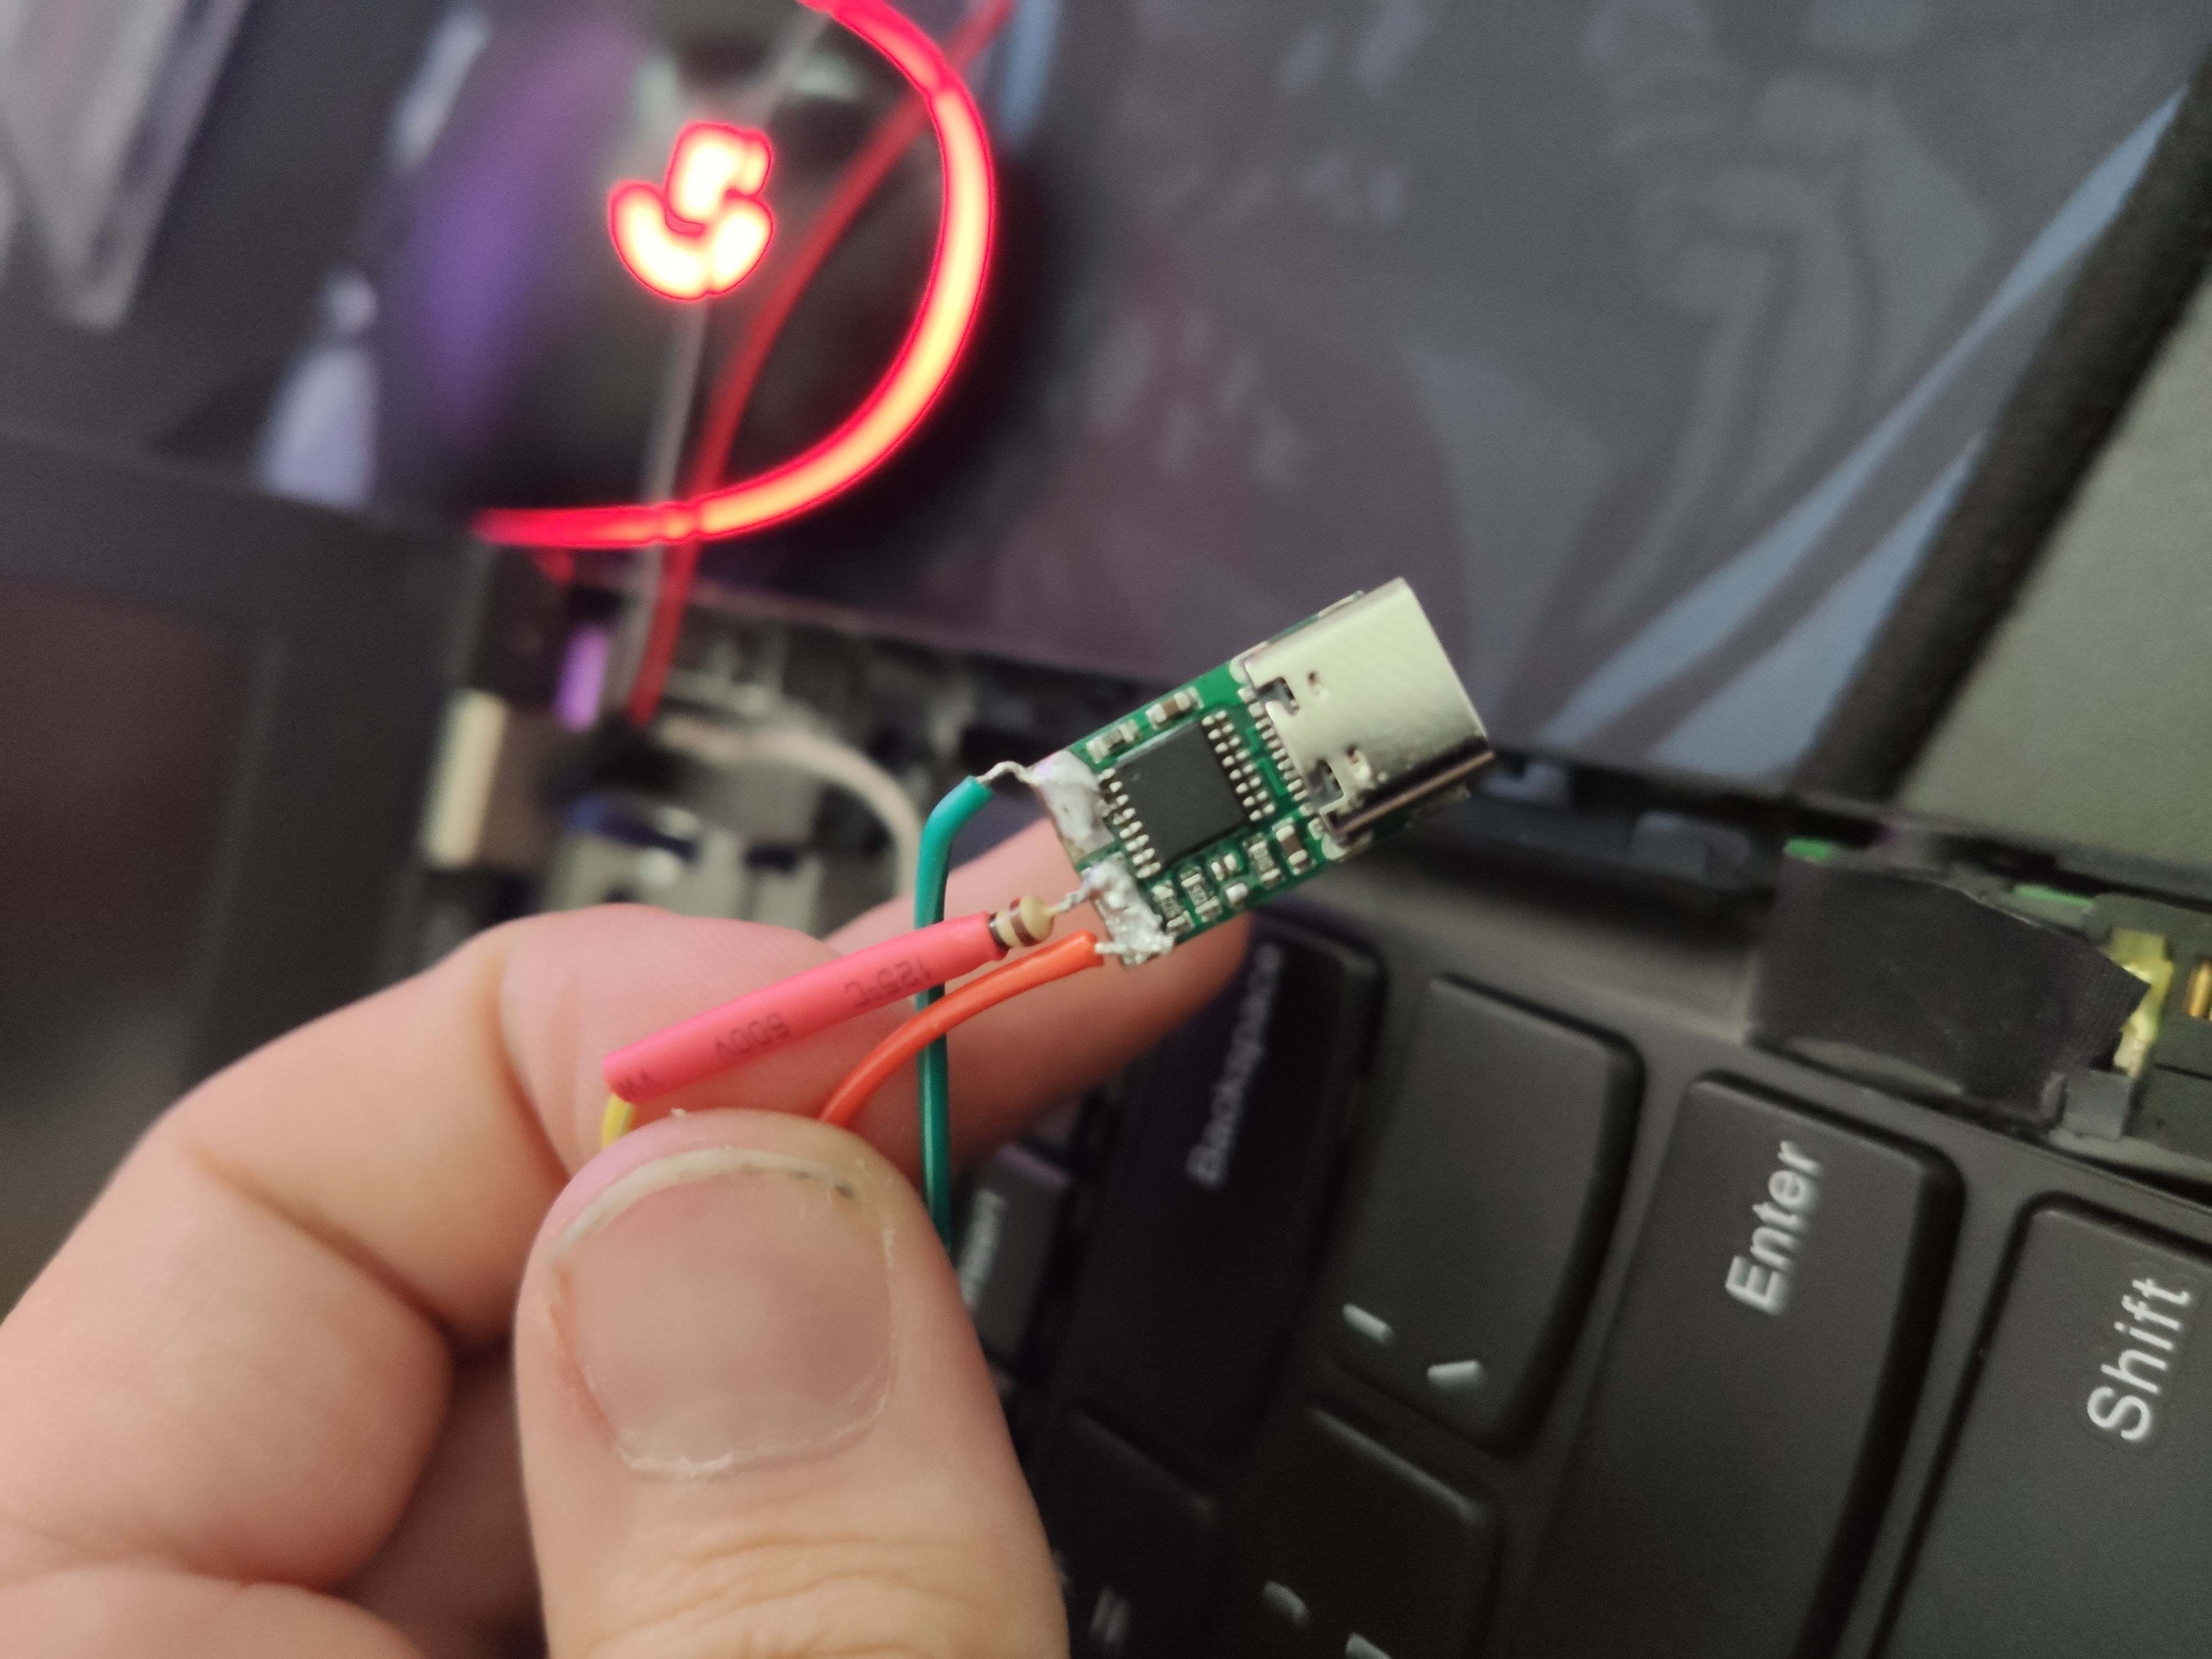
Here is a look at the board, to use it I had to bridge two solder points to make it 20V for the thinkpad instead of 15V.
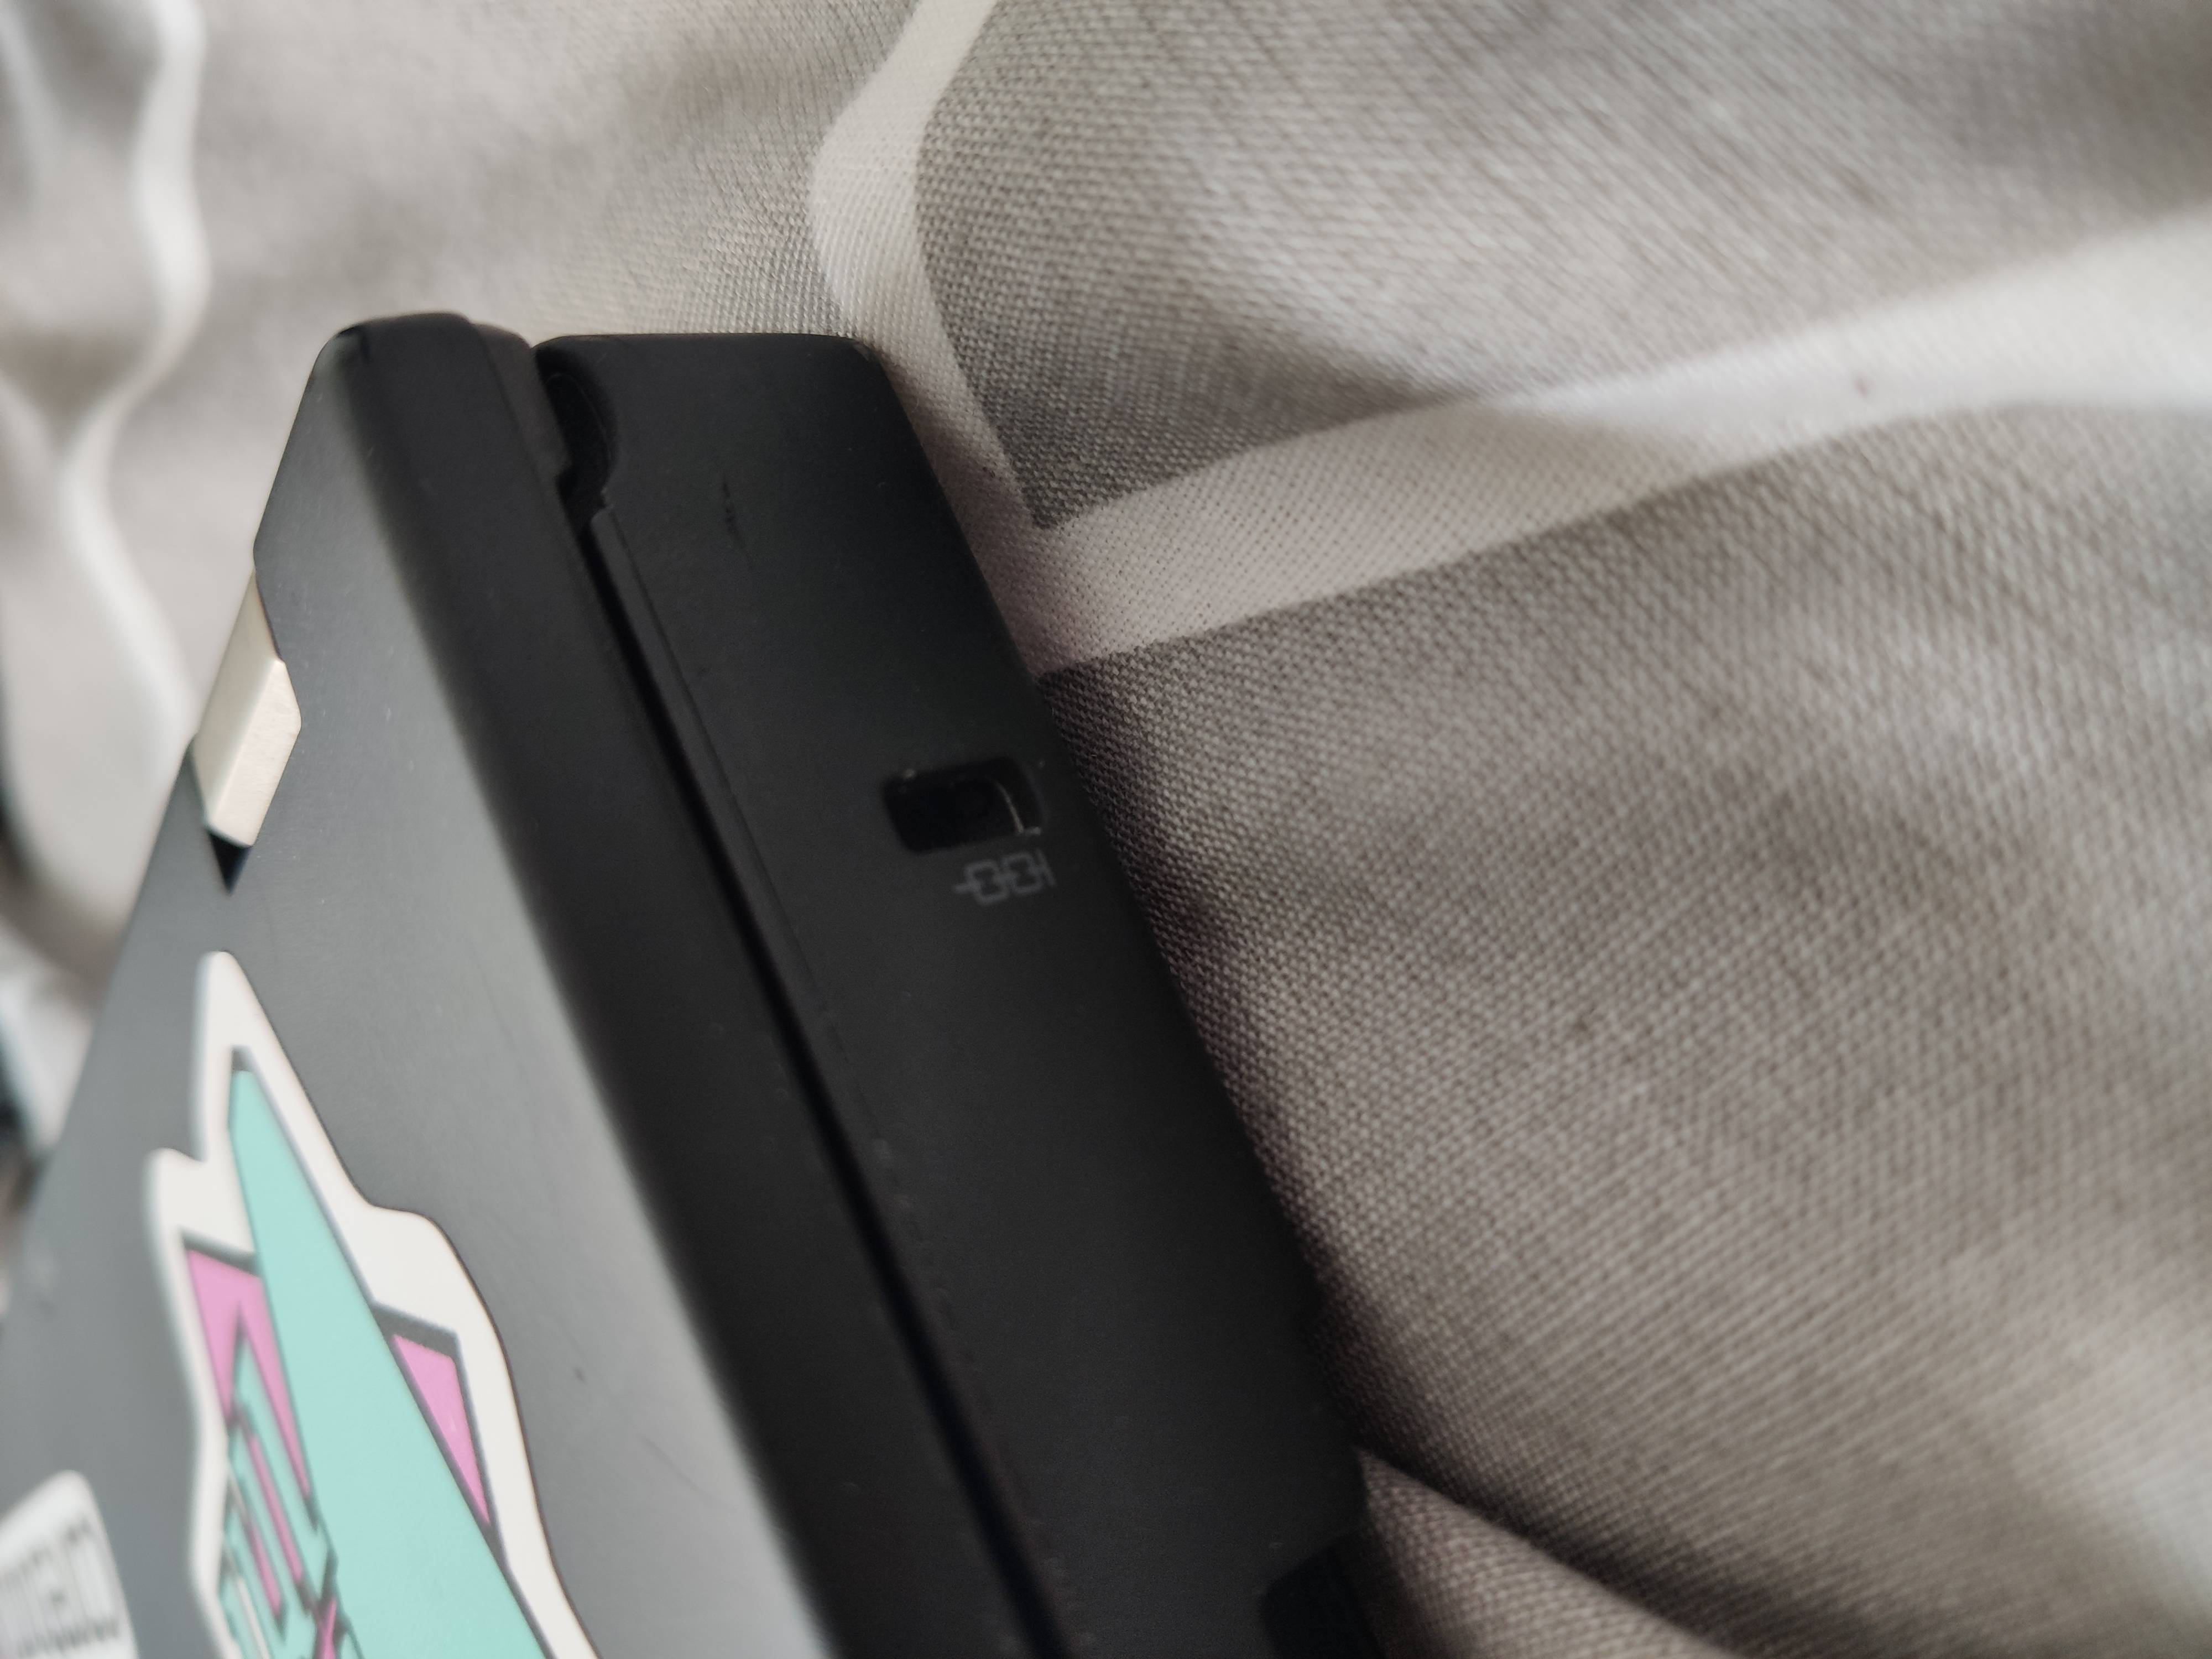
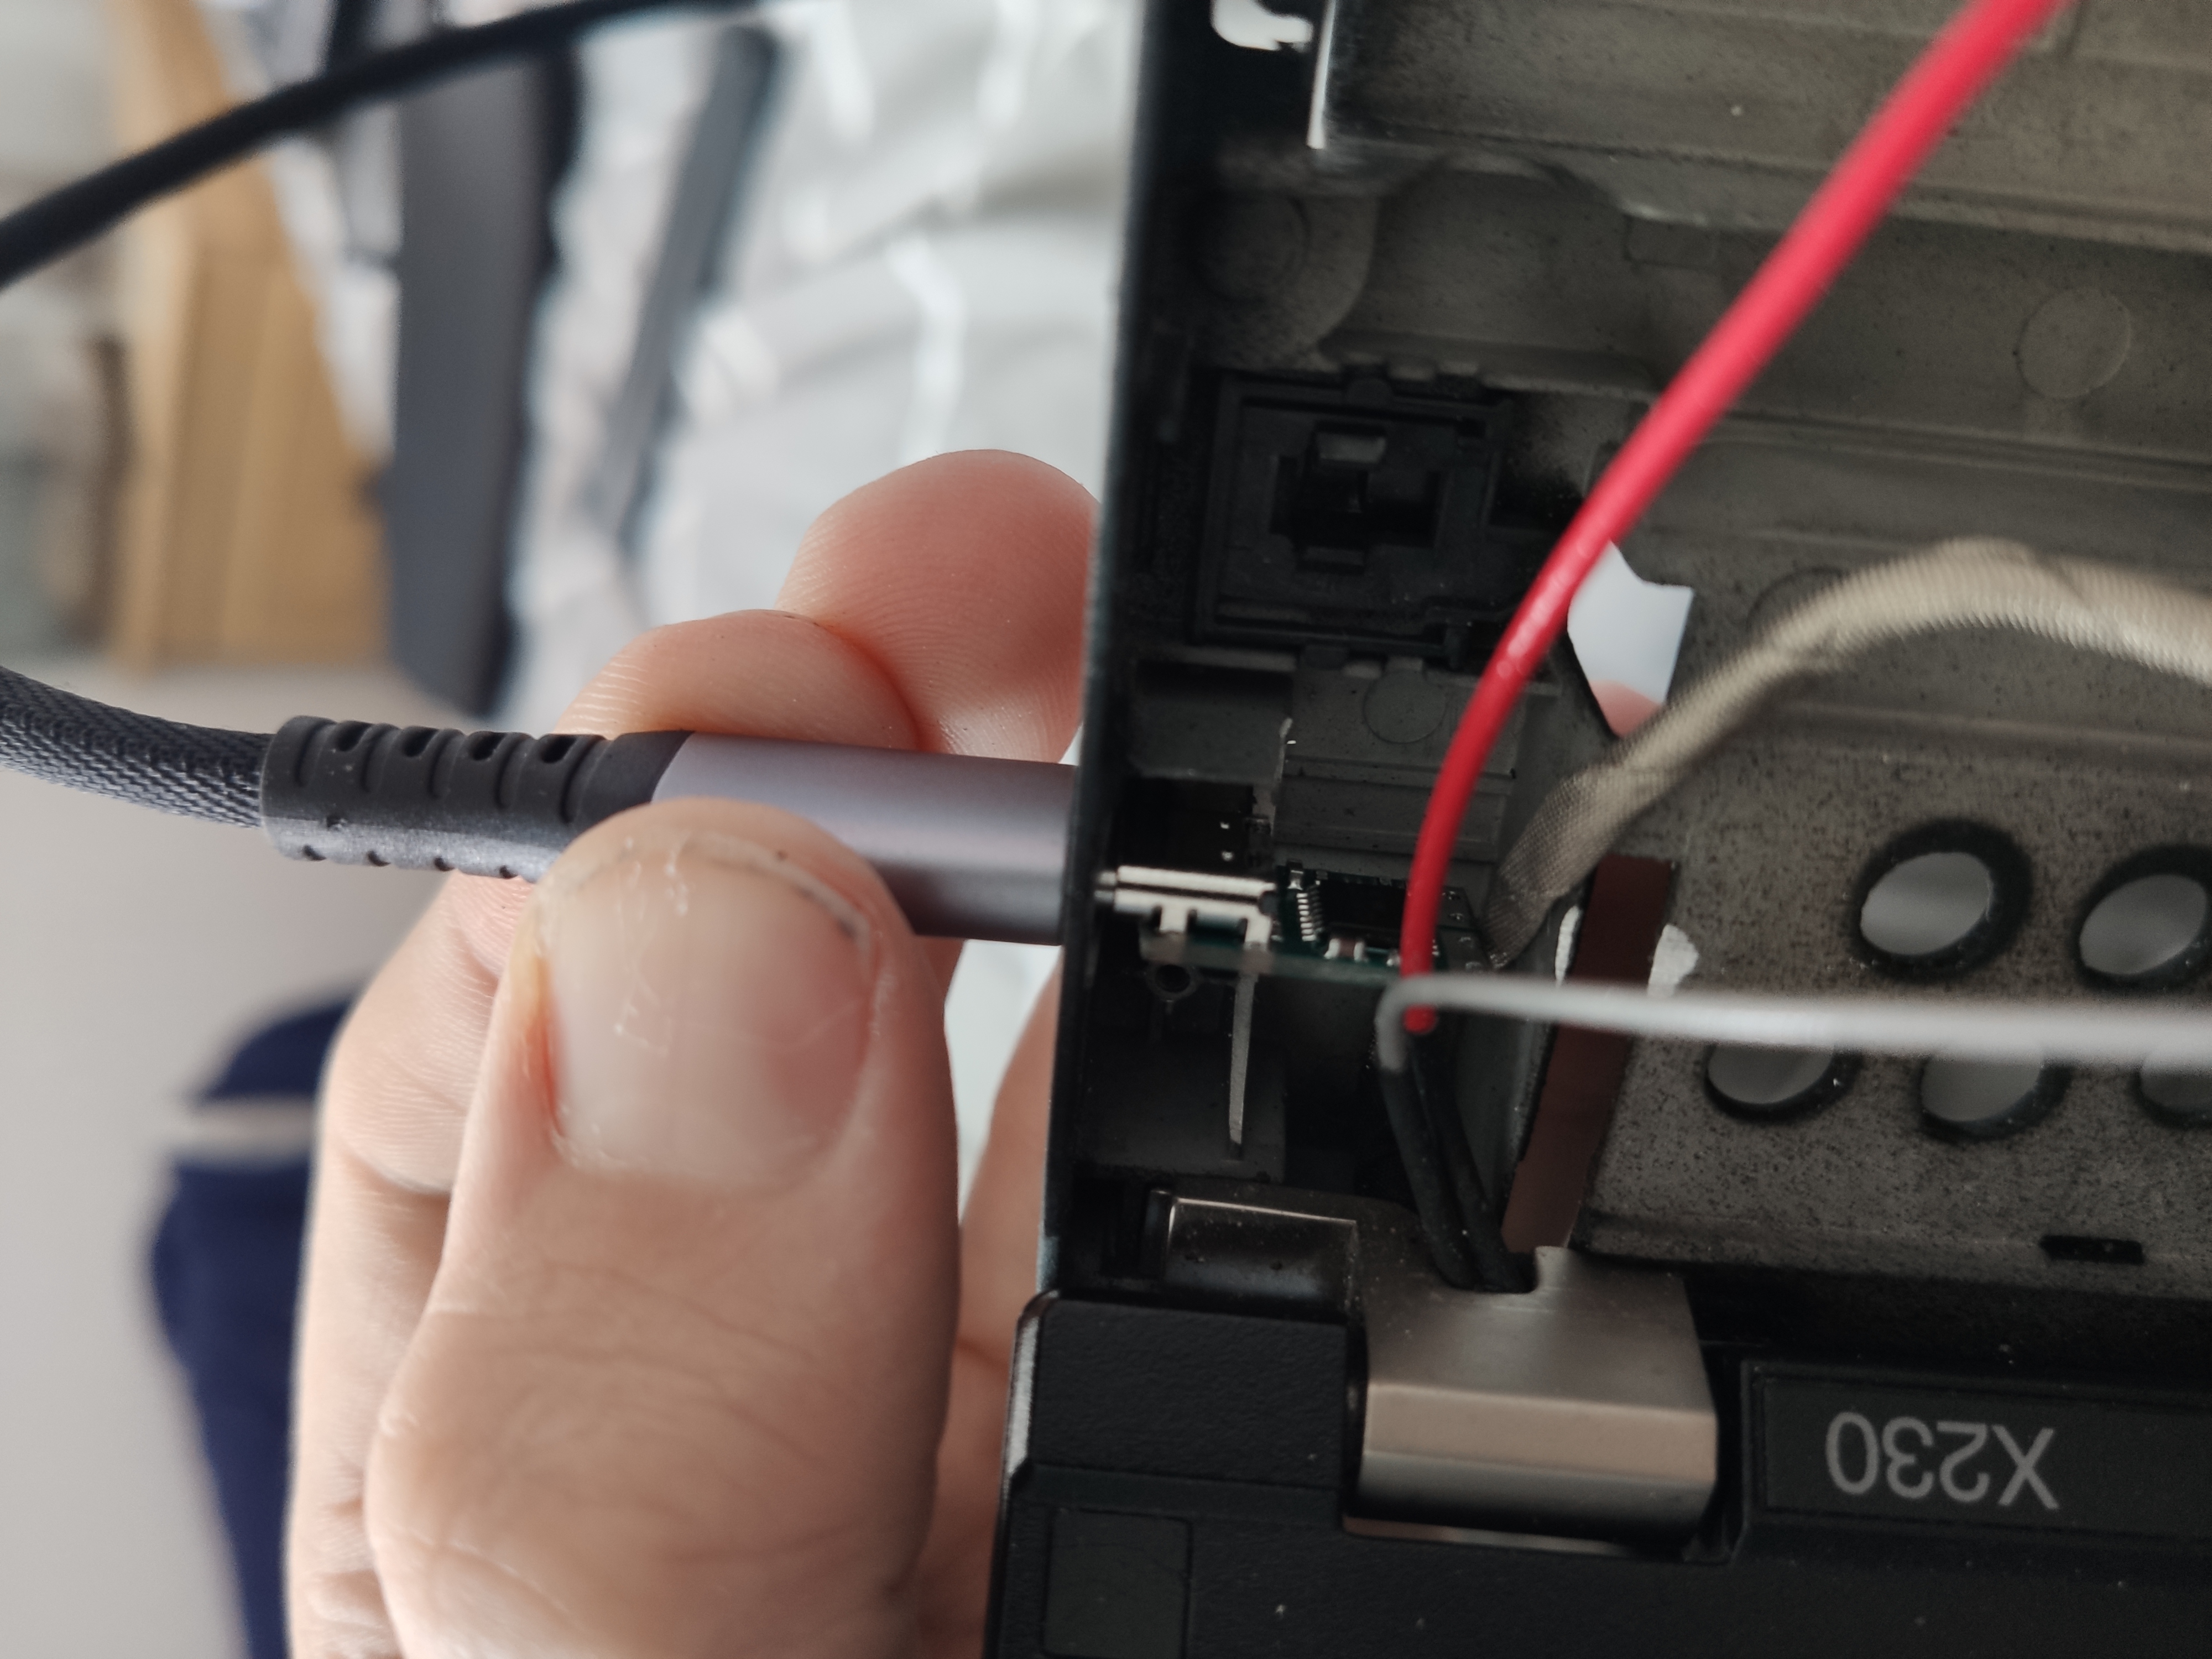
This is the useless port I want to make useful:
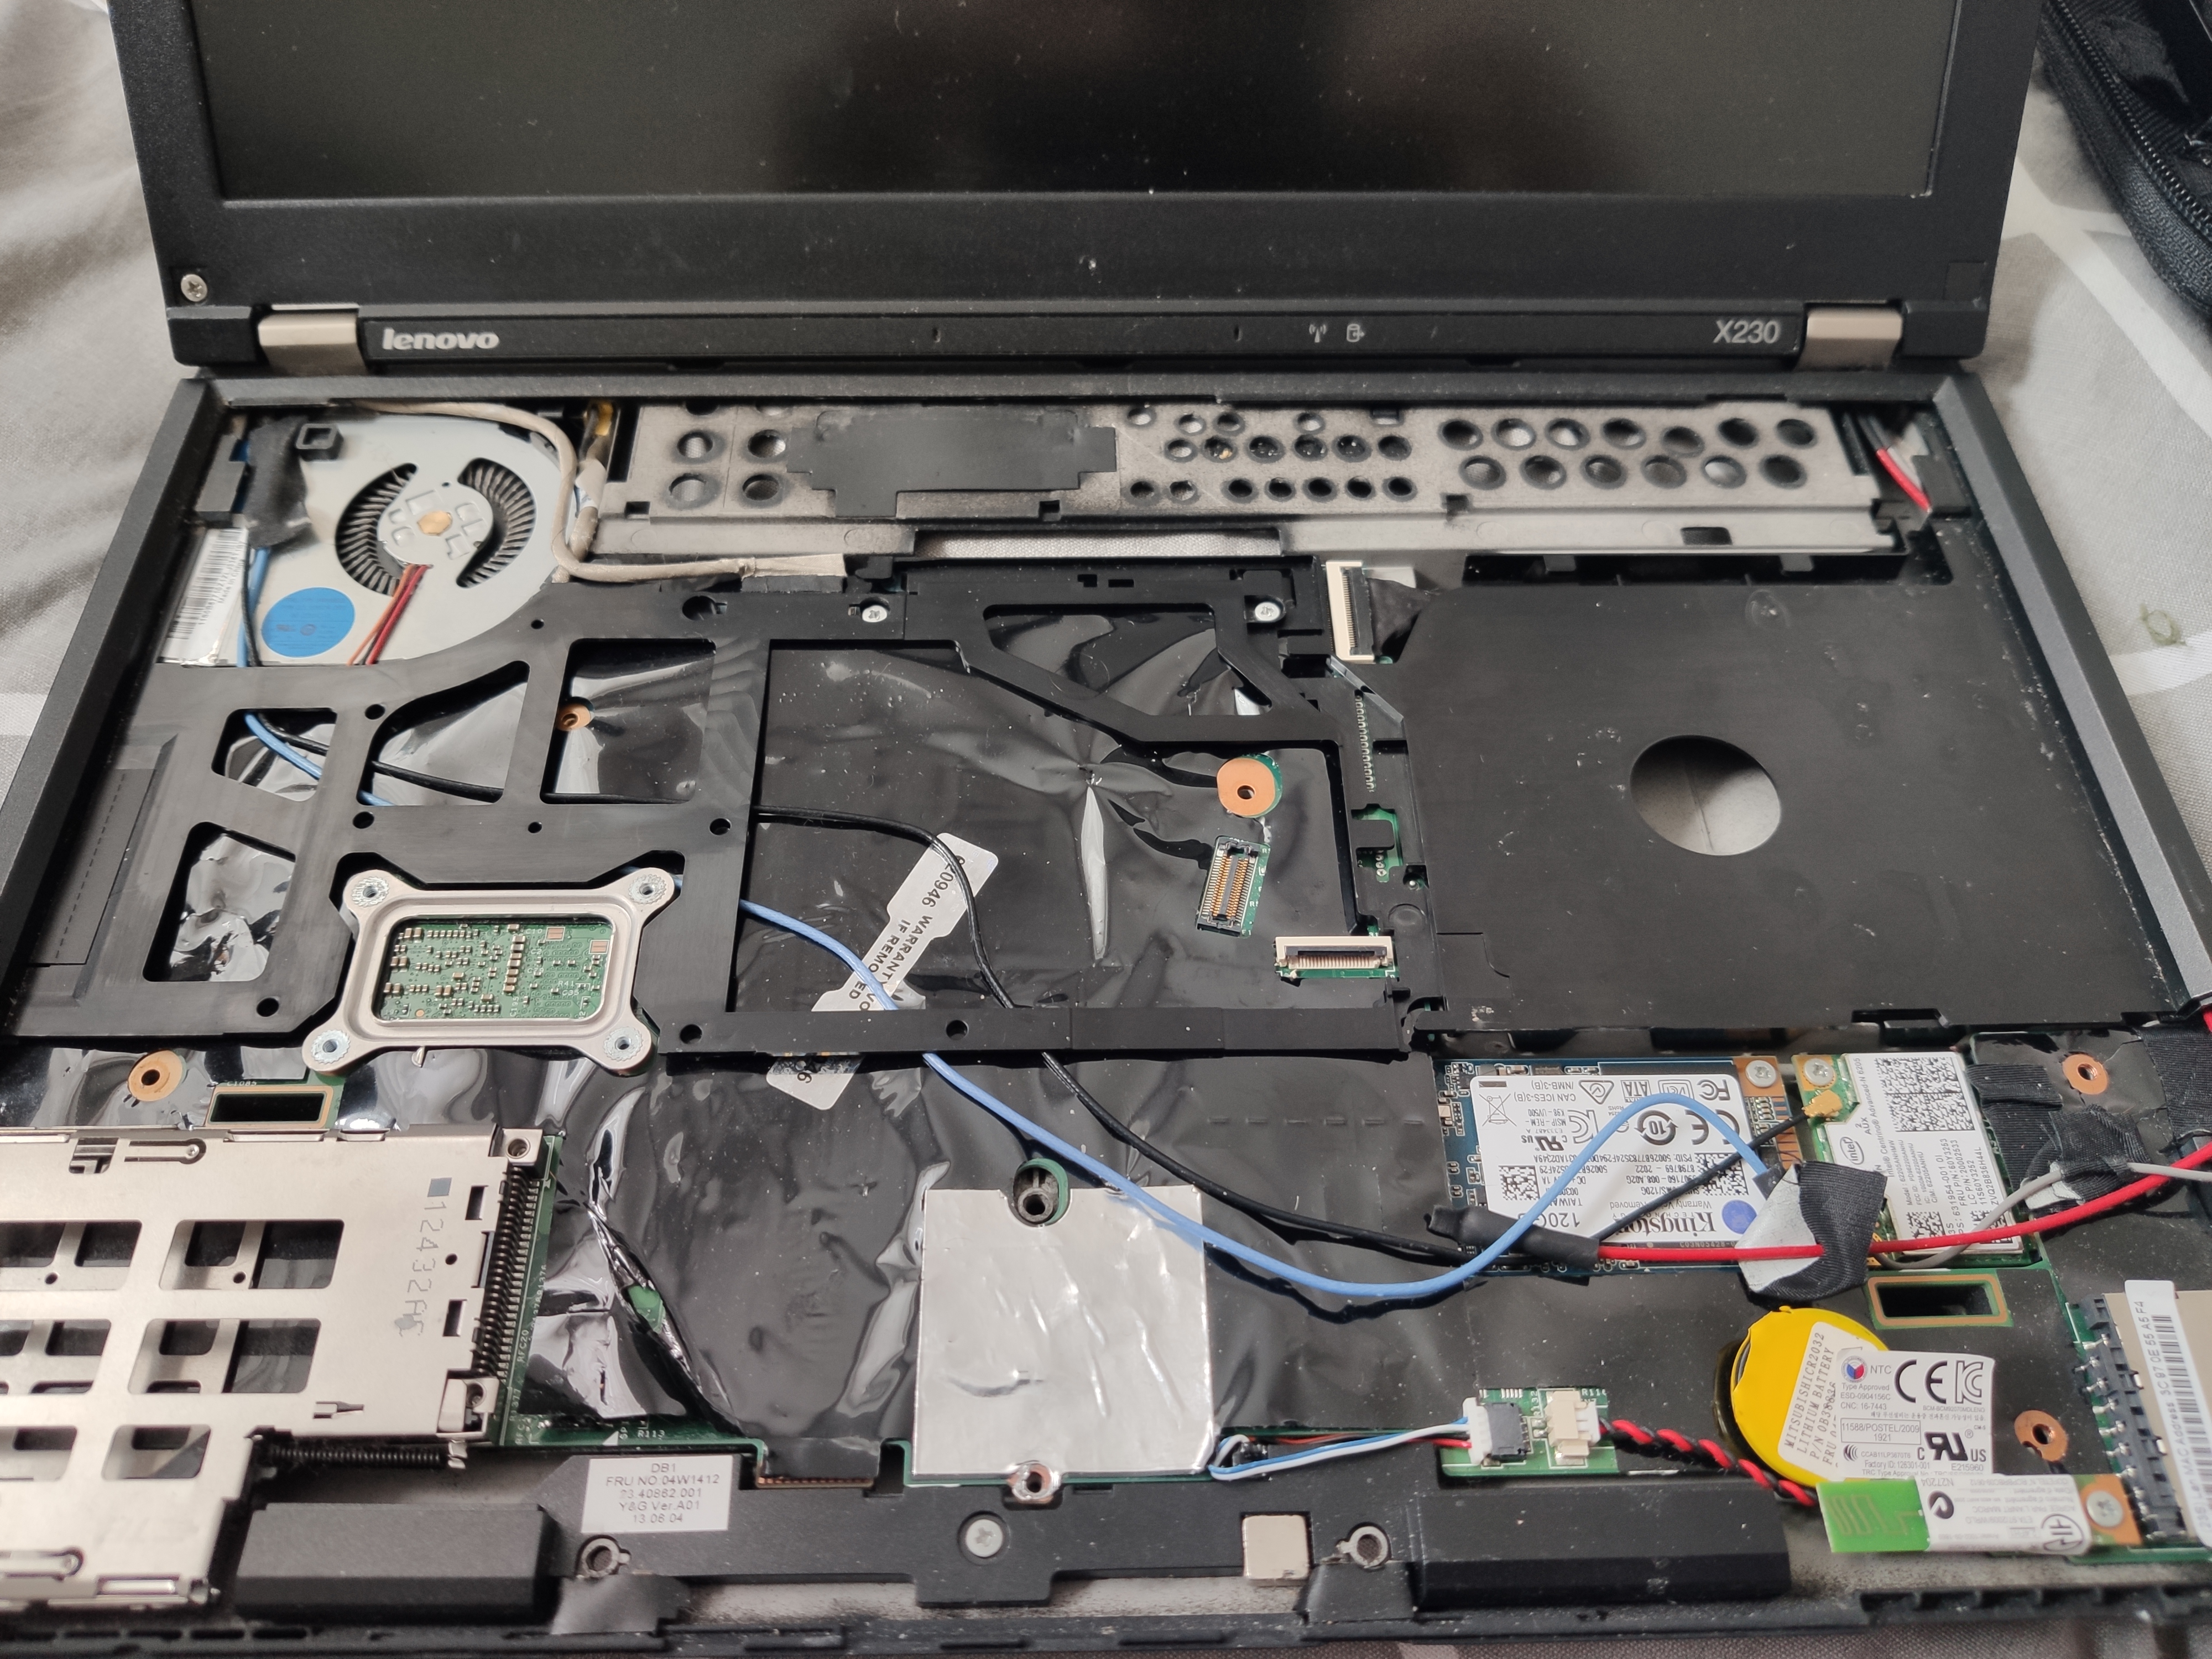
Now we disassemble, beyond the scope of this guide as there is a ton of documentation on this (apologies on the dirty laptop it’s clean now):

Here in the top right is the kensington lock. Let’s just remove that.
Now we need to remove some of the plastic here, I used a snip tool. It could be a cleaner cut here but it will do as it’s not going to be seen by anyone but me.
At this point, I removed the whole motherboard and filed down the top of the Kensington hole as it’s juuuust a little too small. I concentrated on only the top part of the hole.
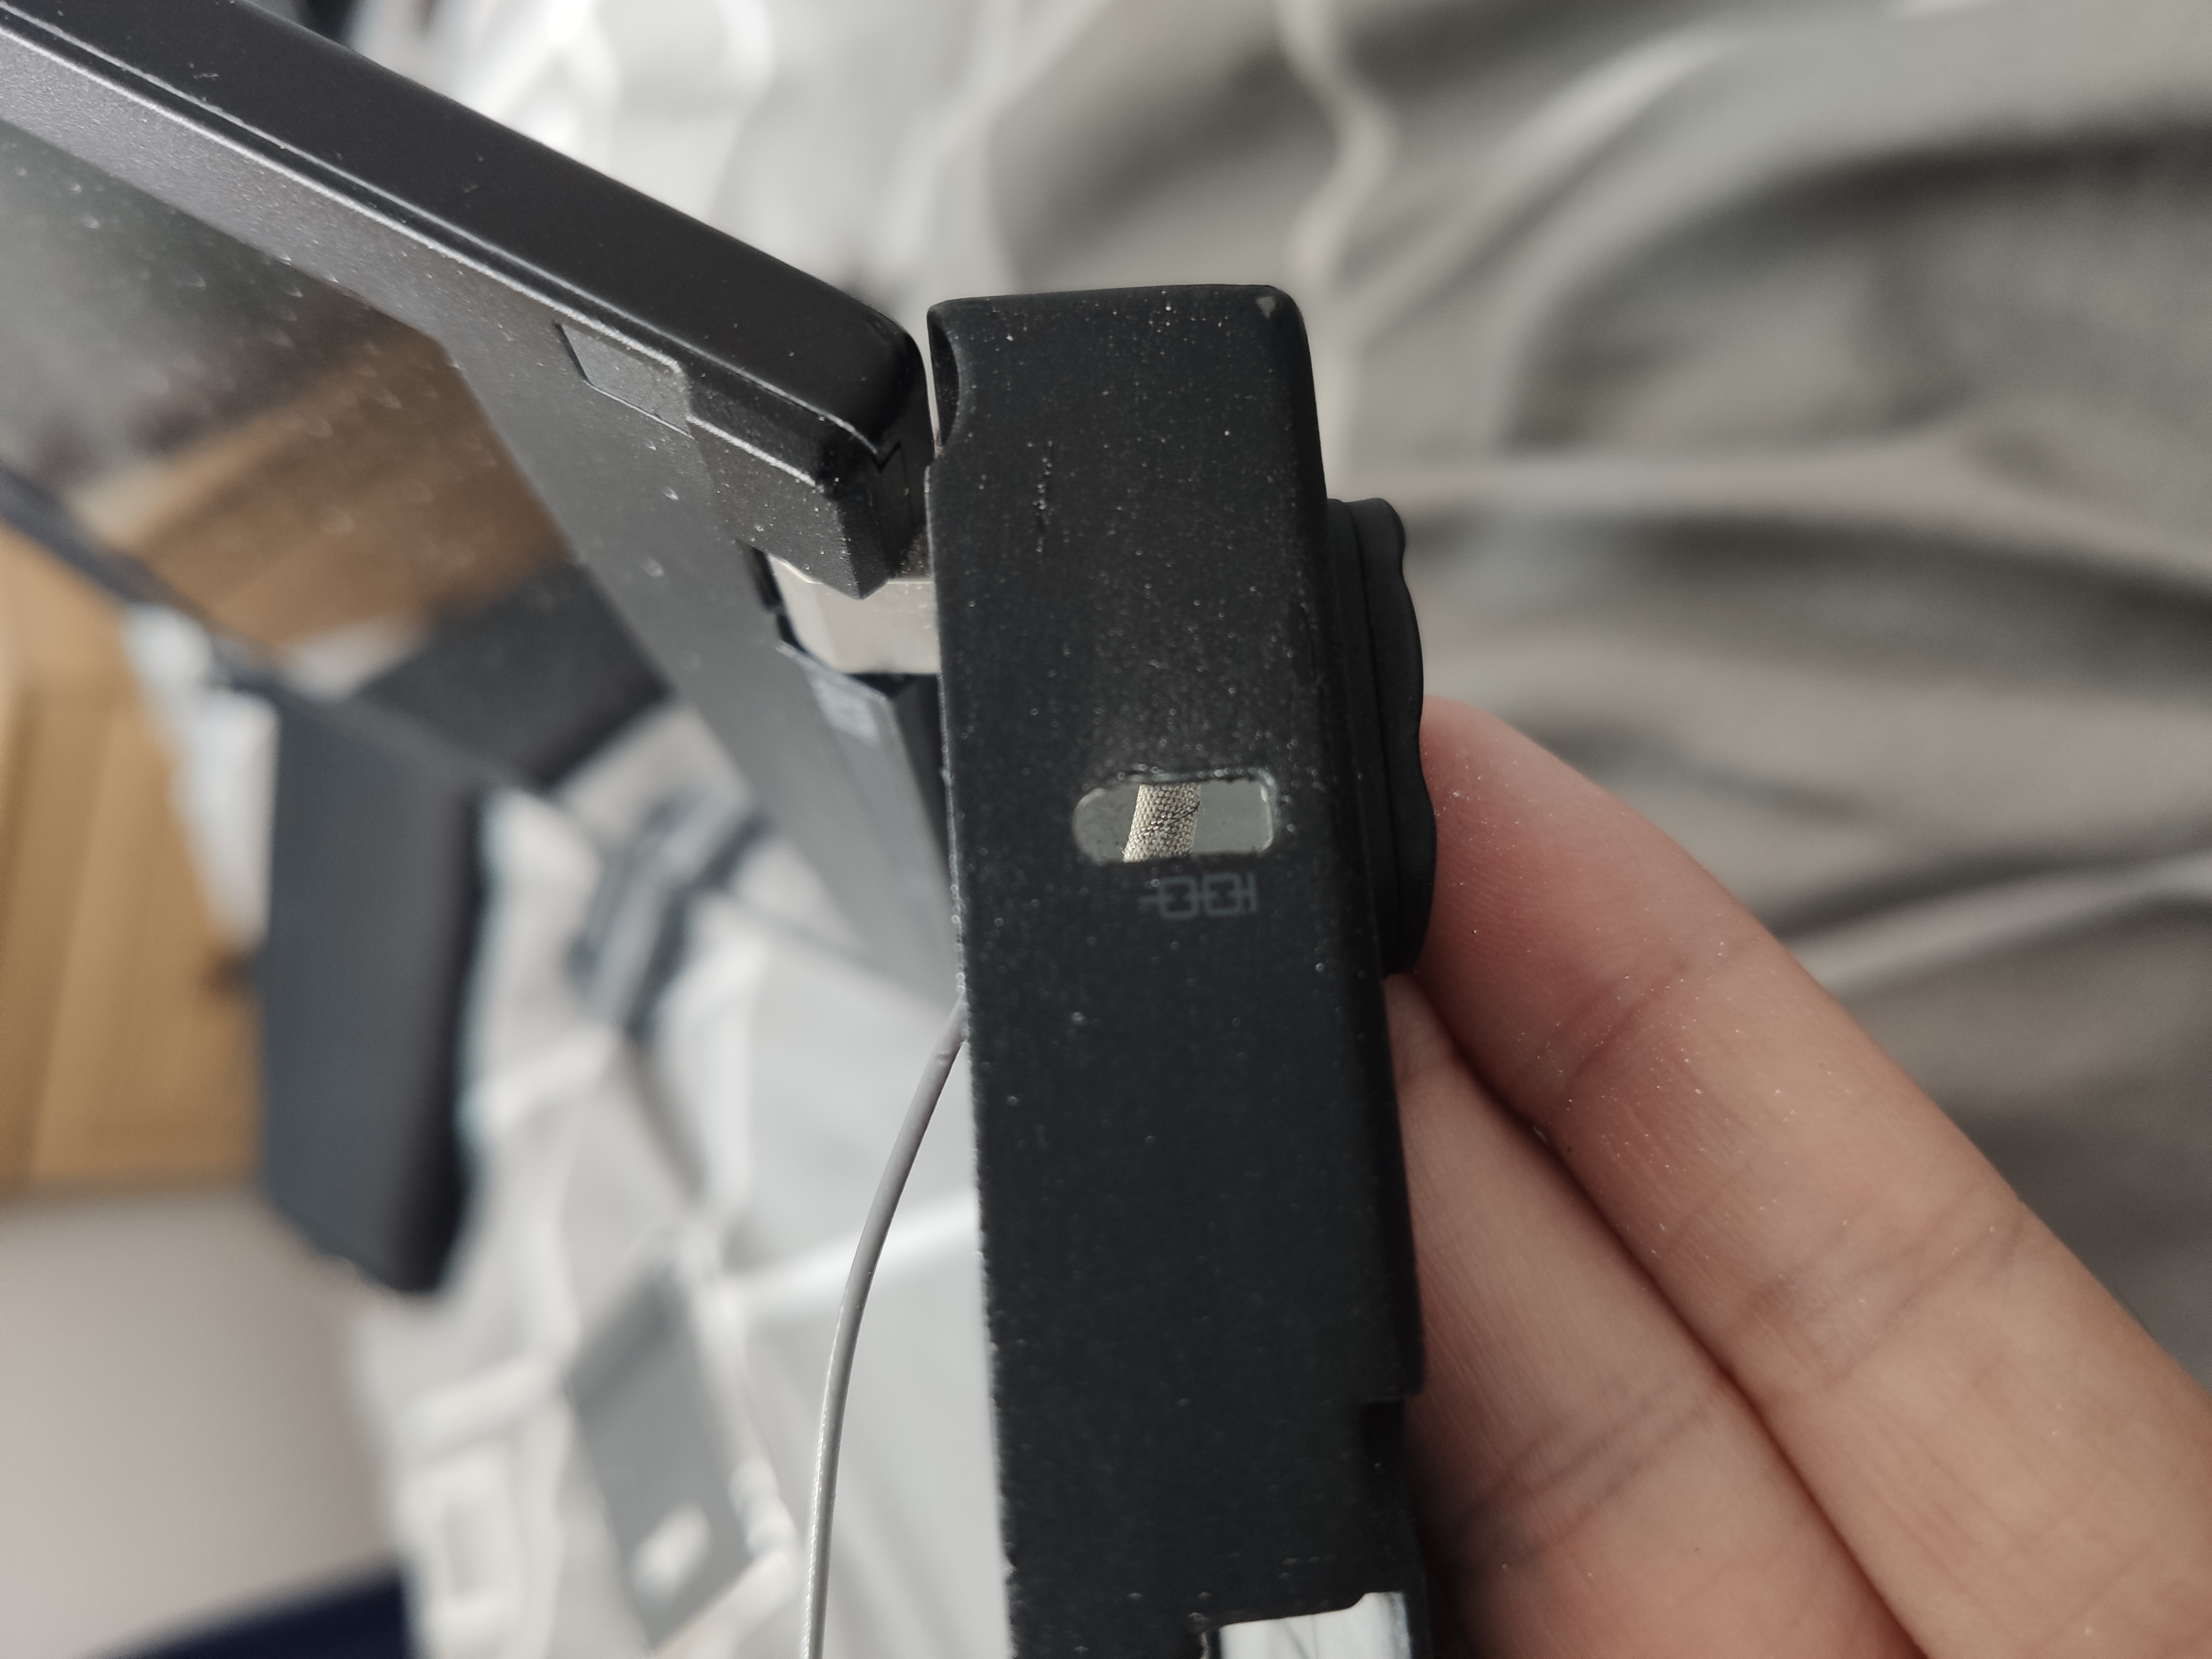
Here I am testing the fit and all seems good.
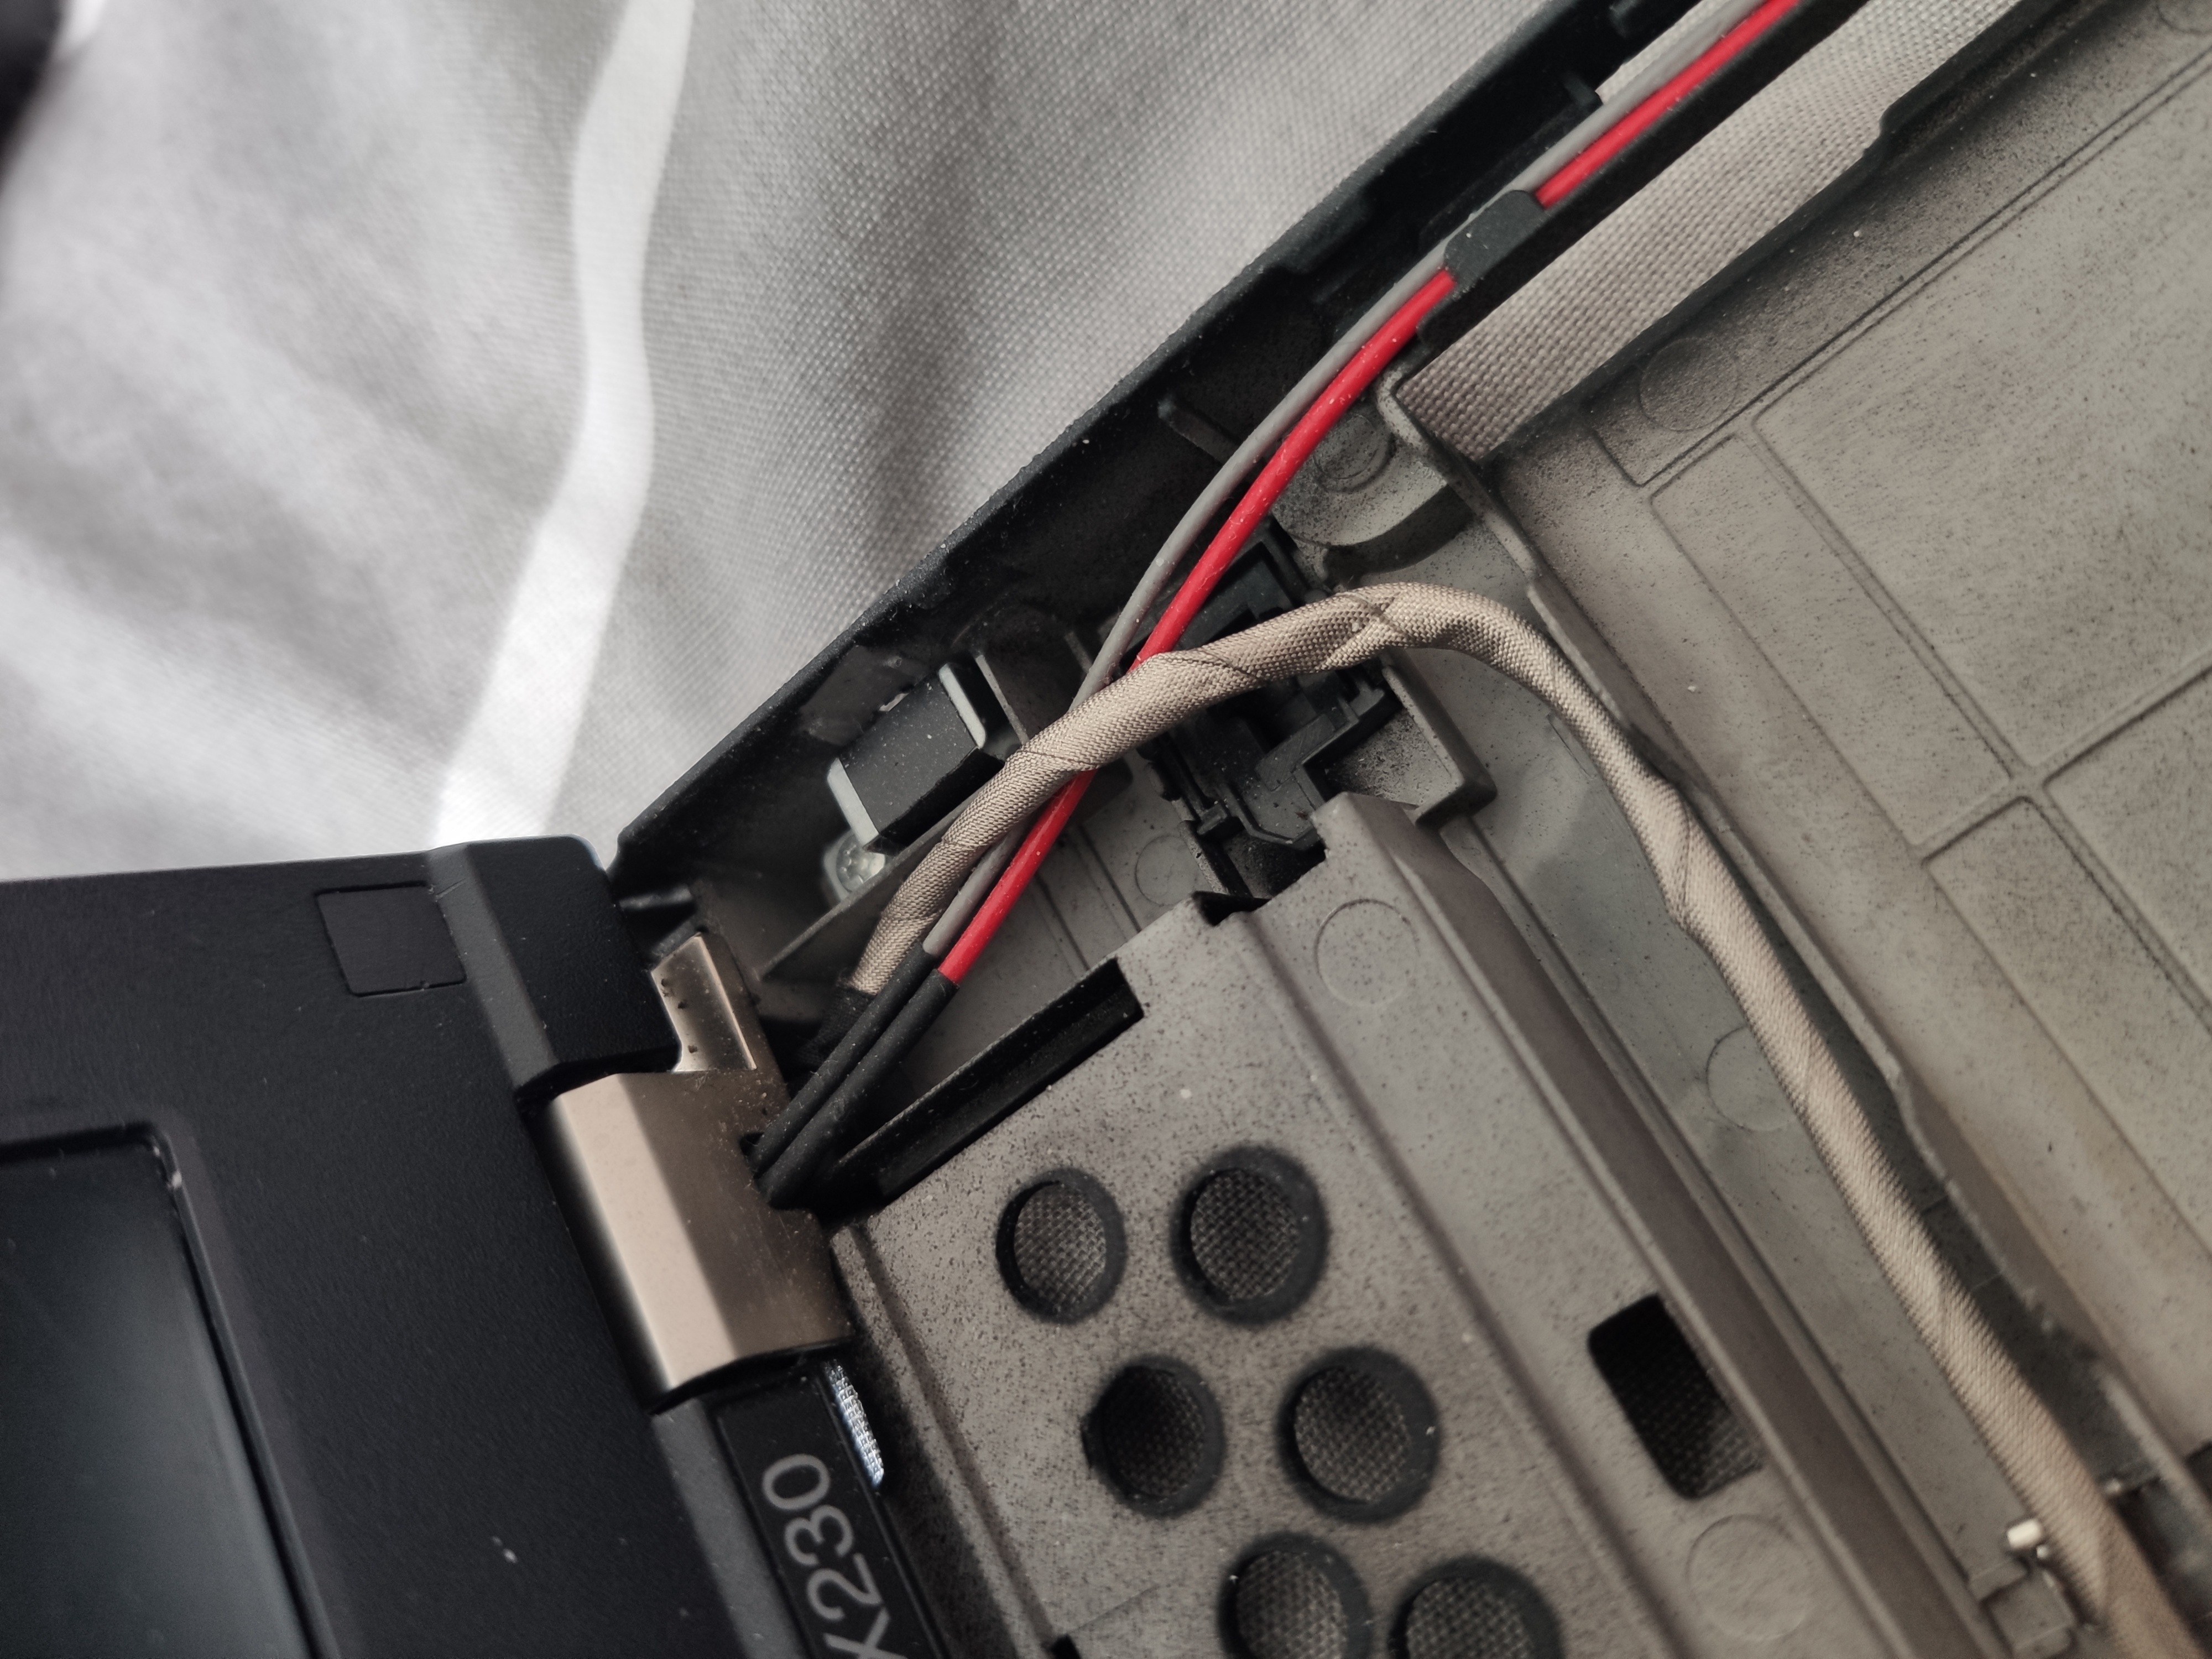
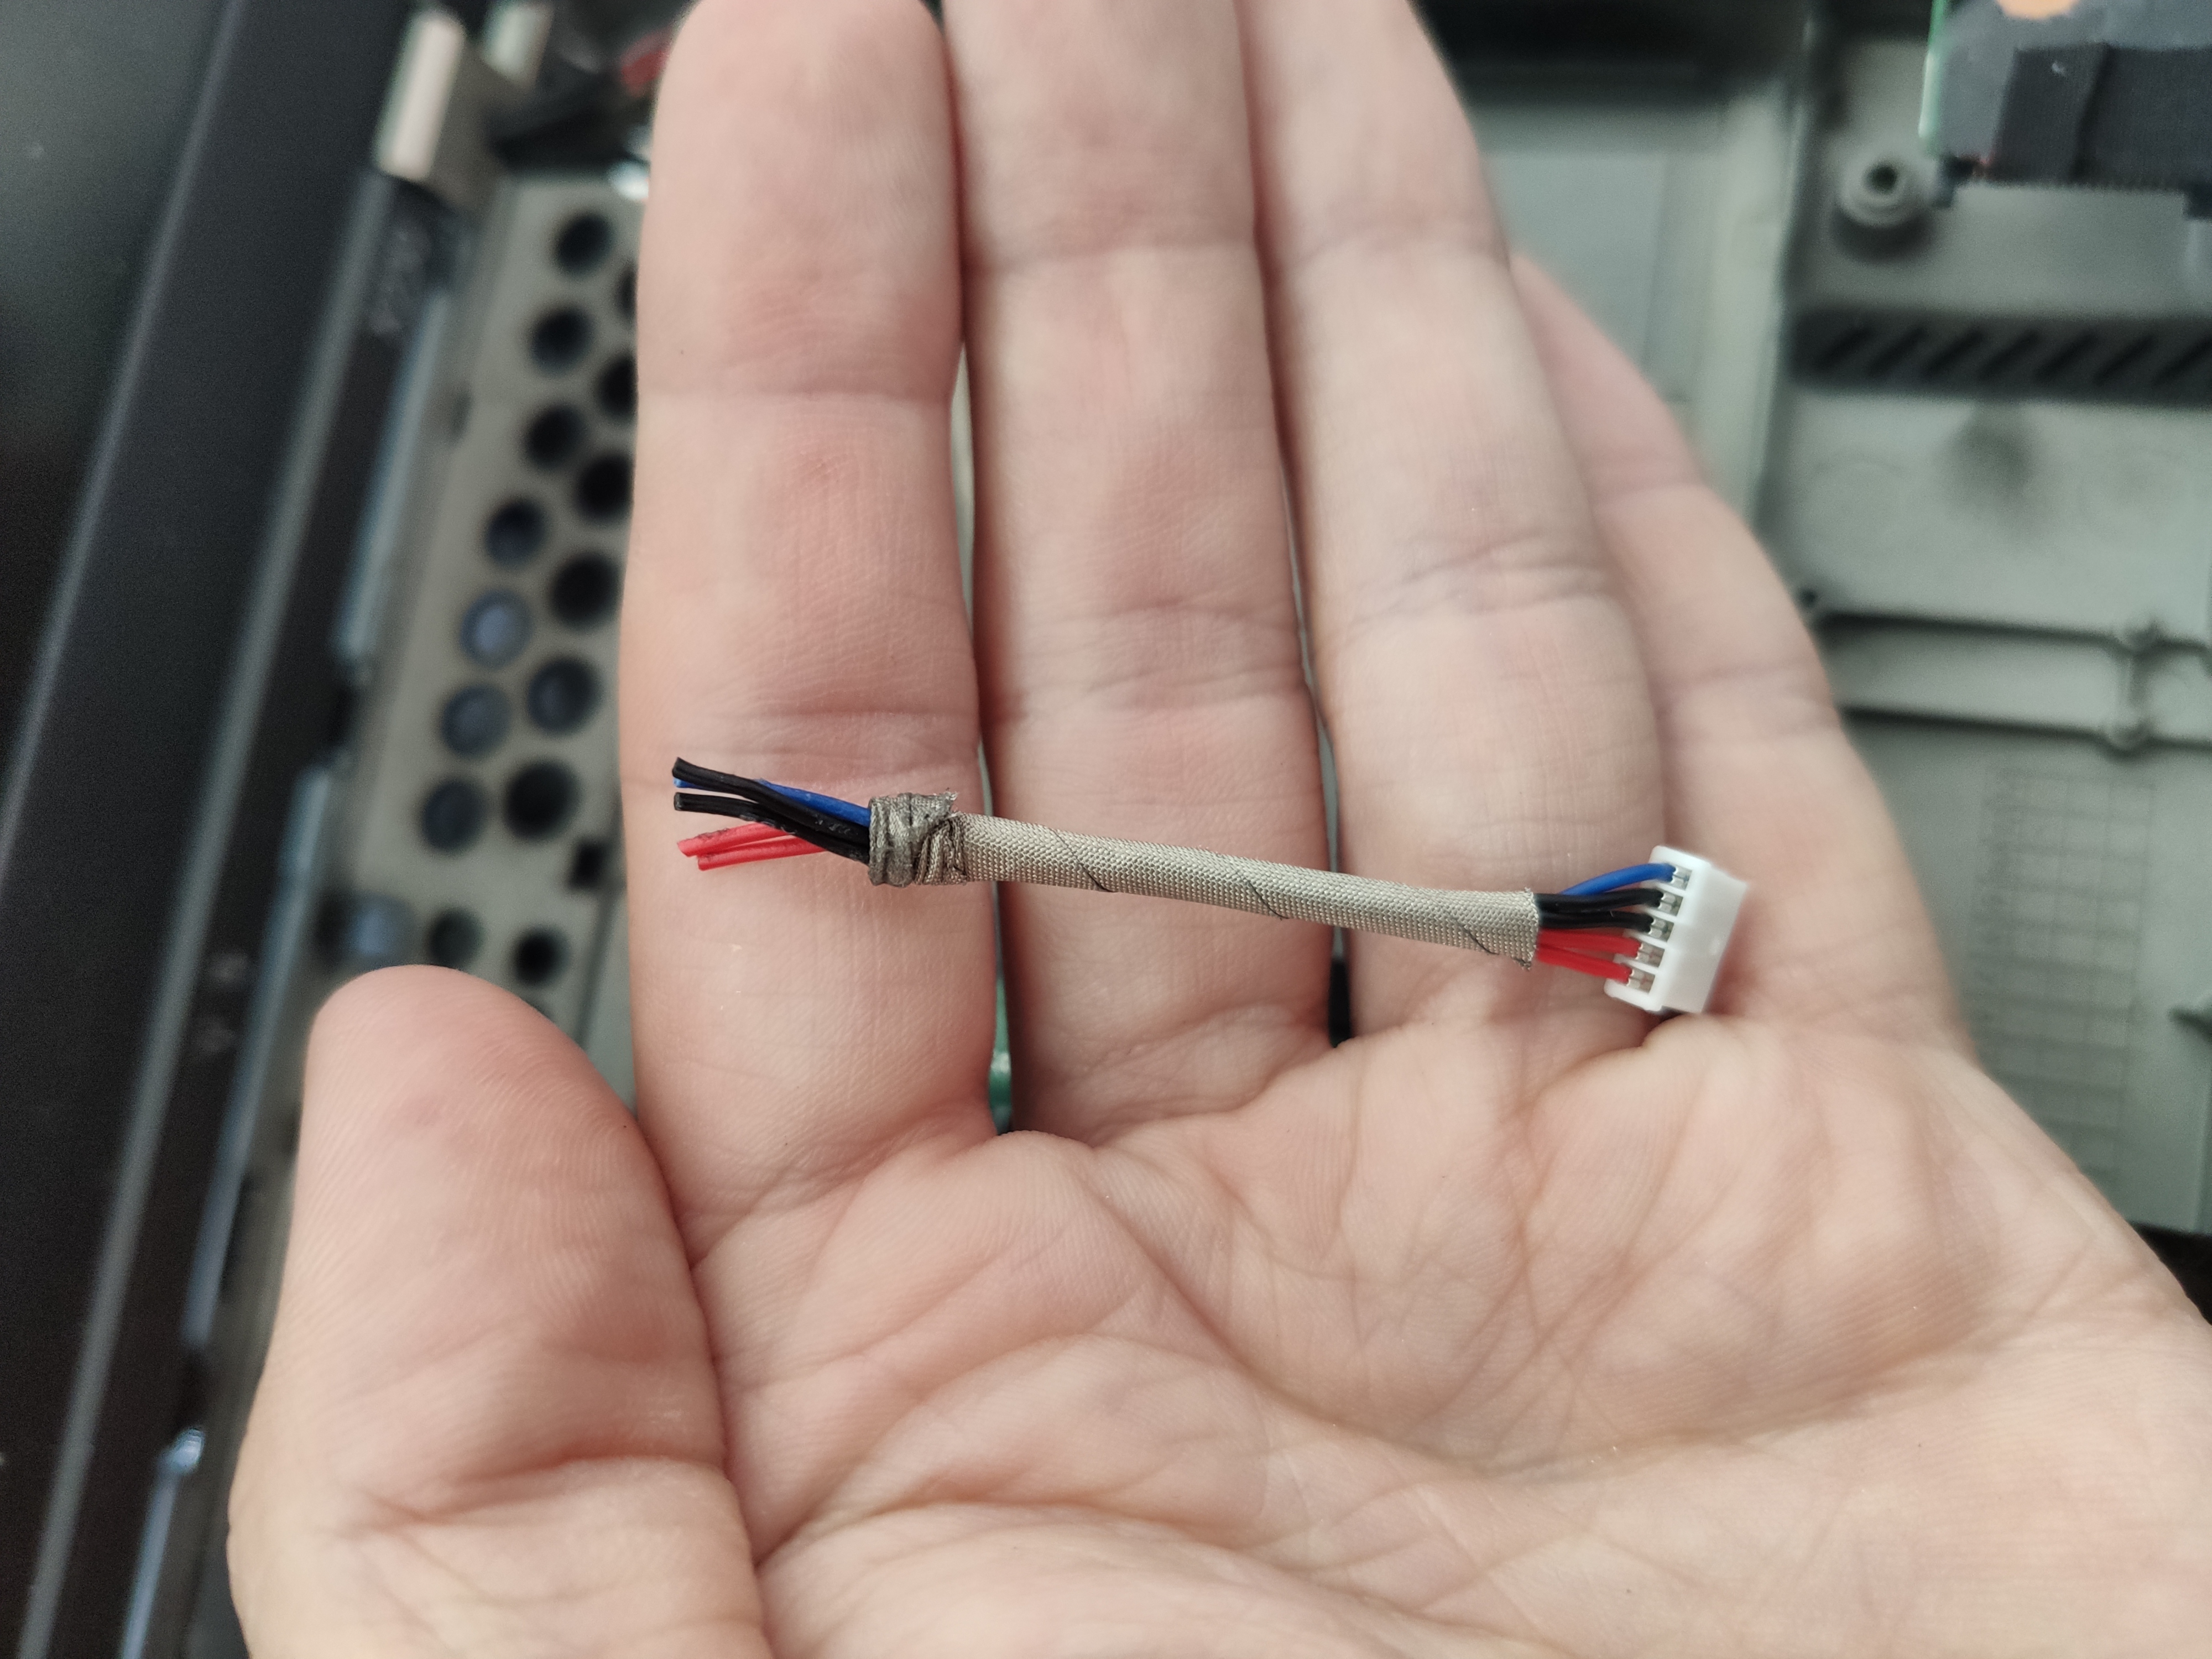
Next up, I cut off the old DC barrel jack on a spare one I got on eBay. Red is 20V, black is ground and blue is the ID wire.
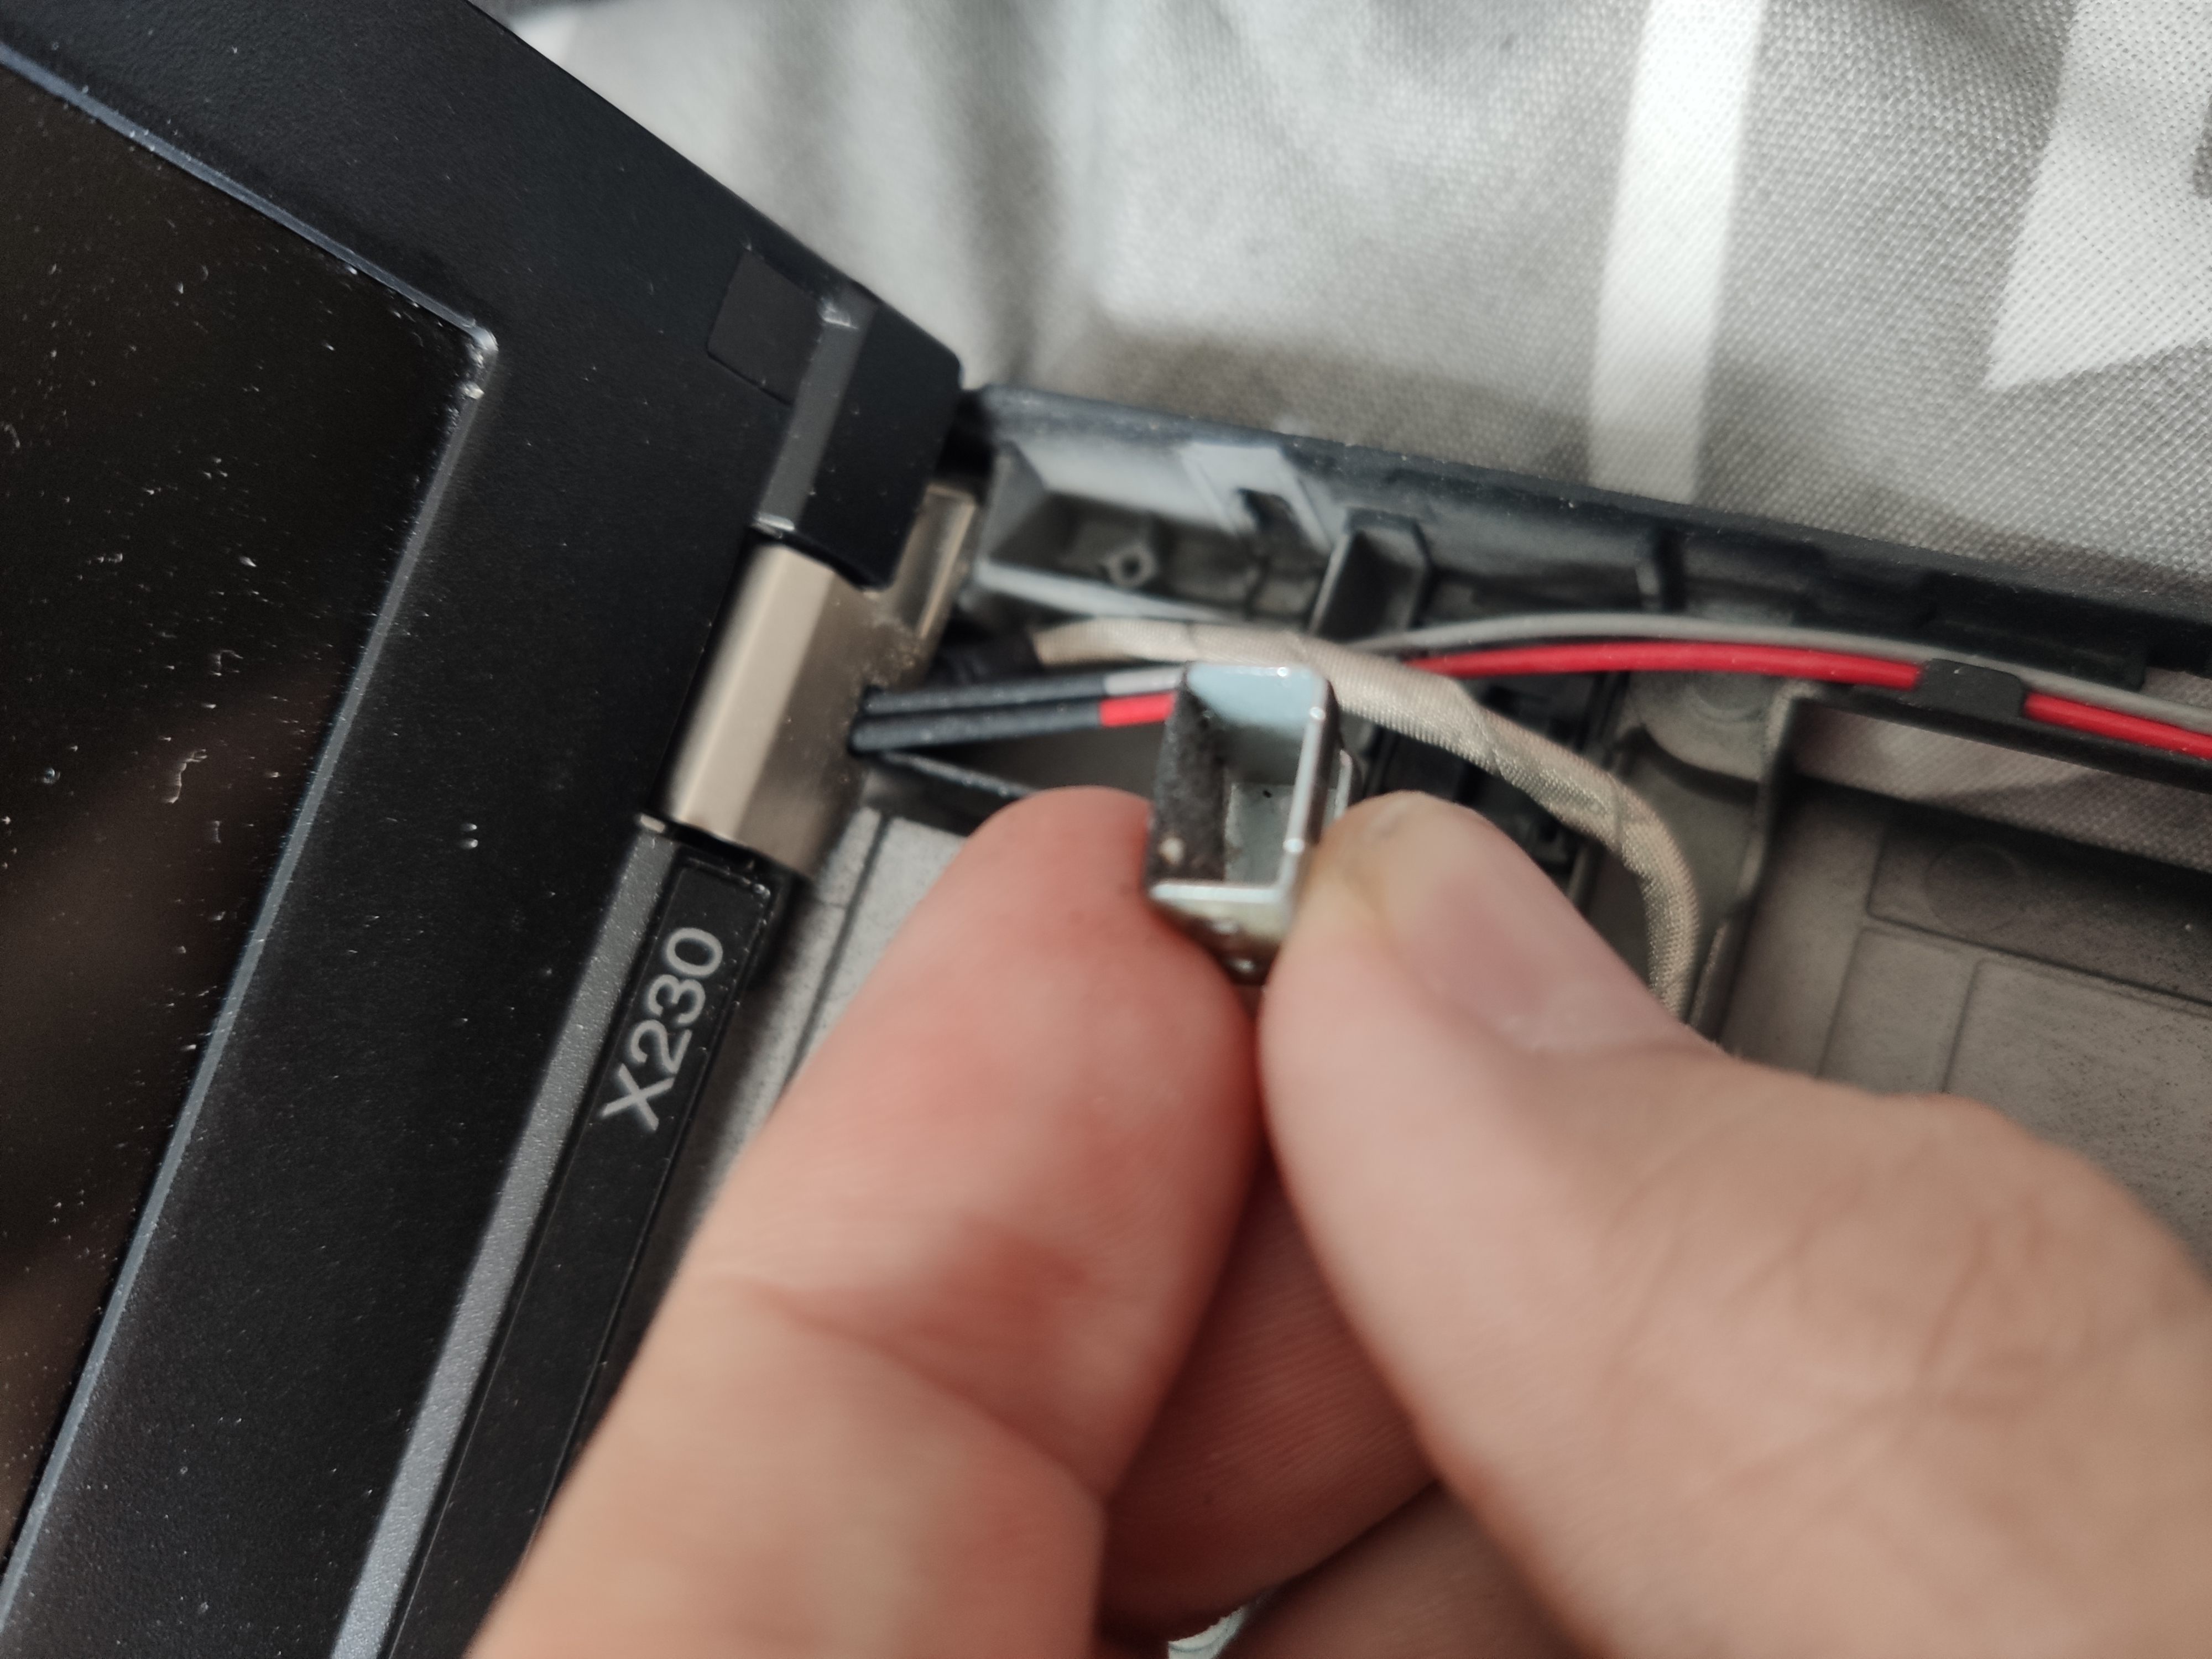
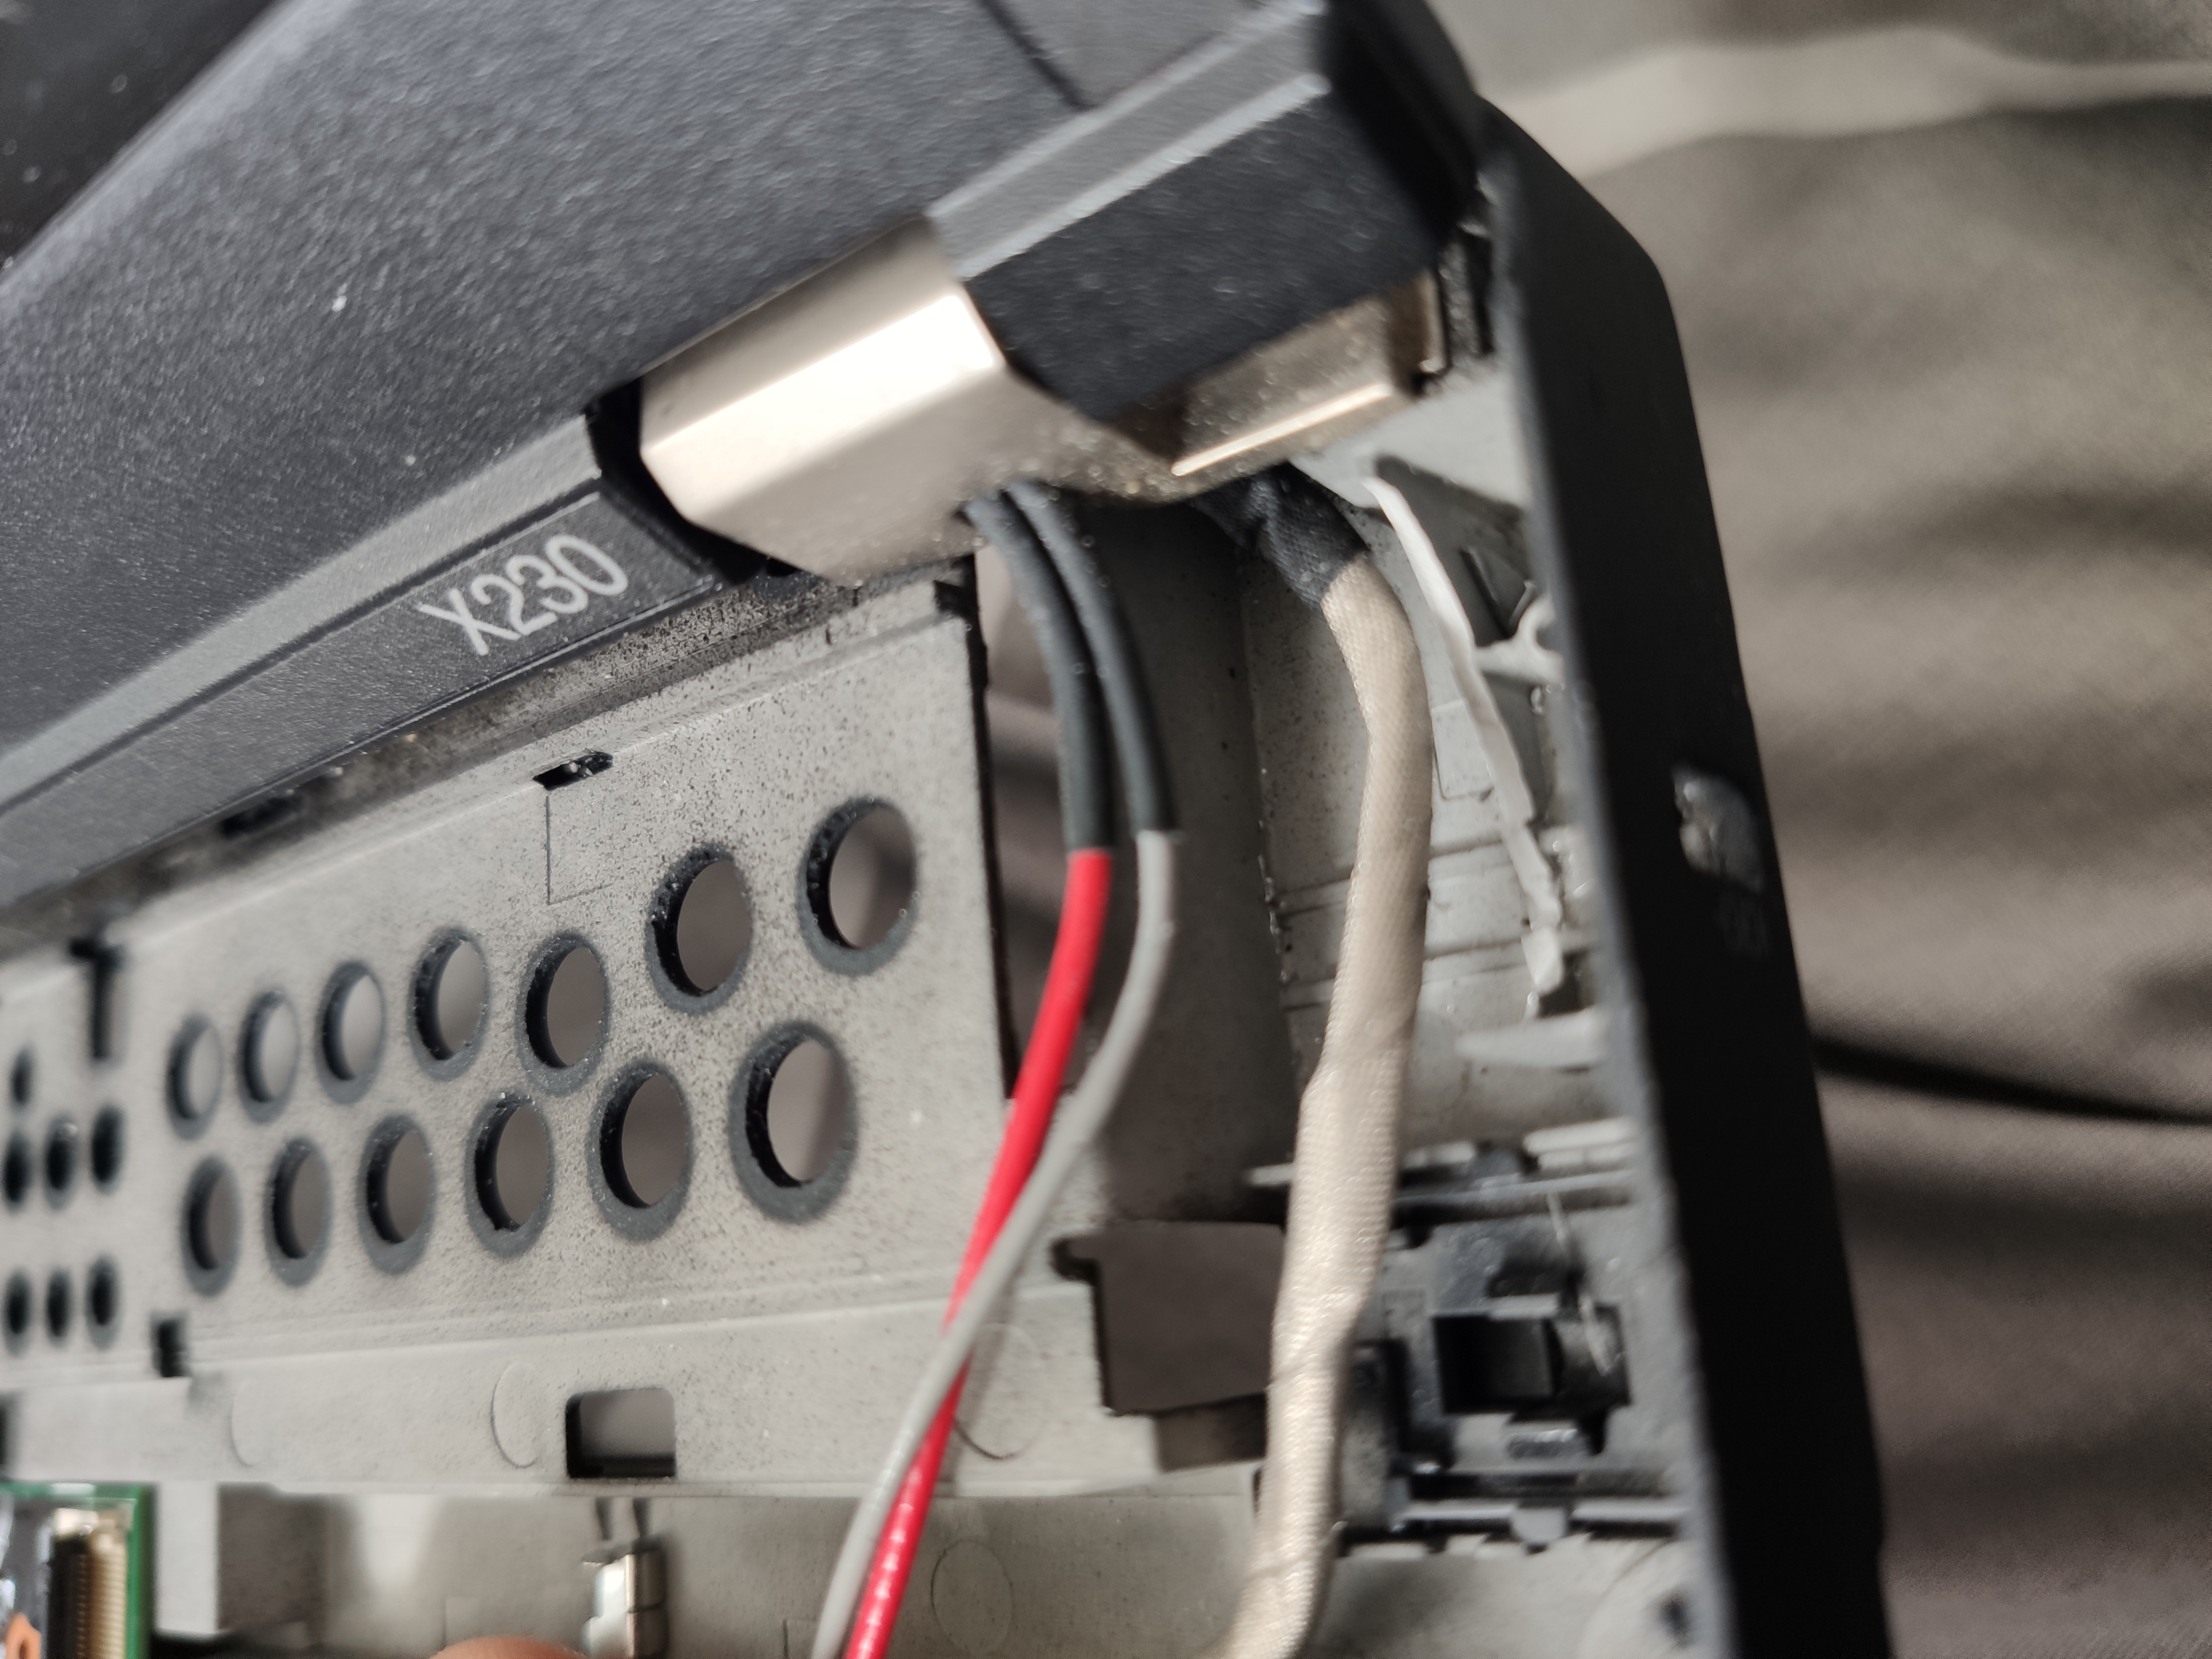
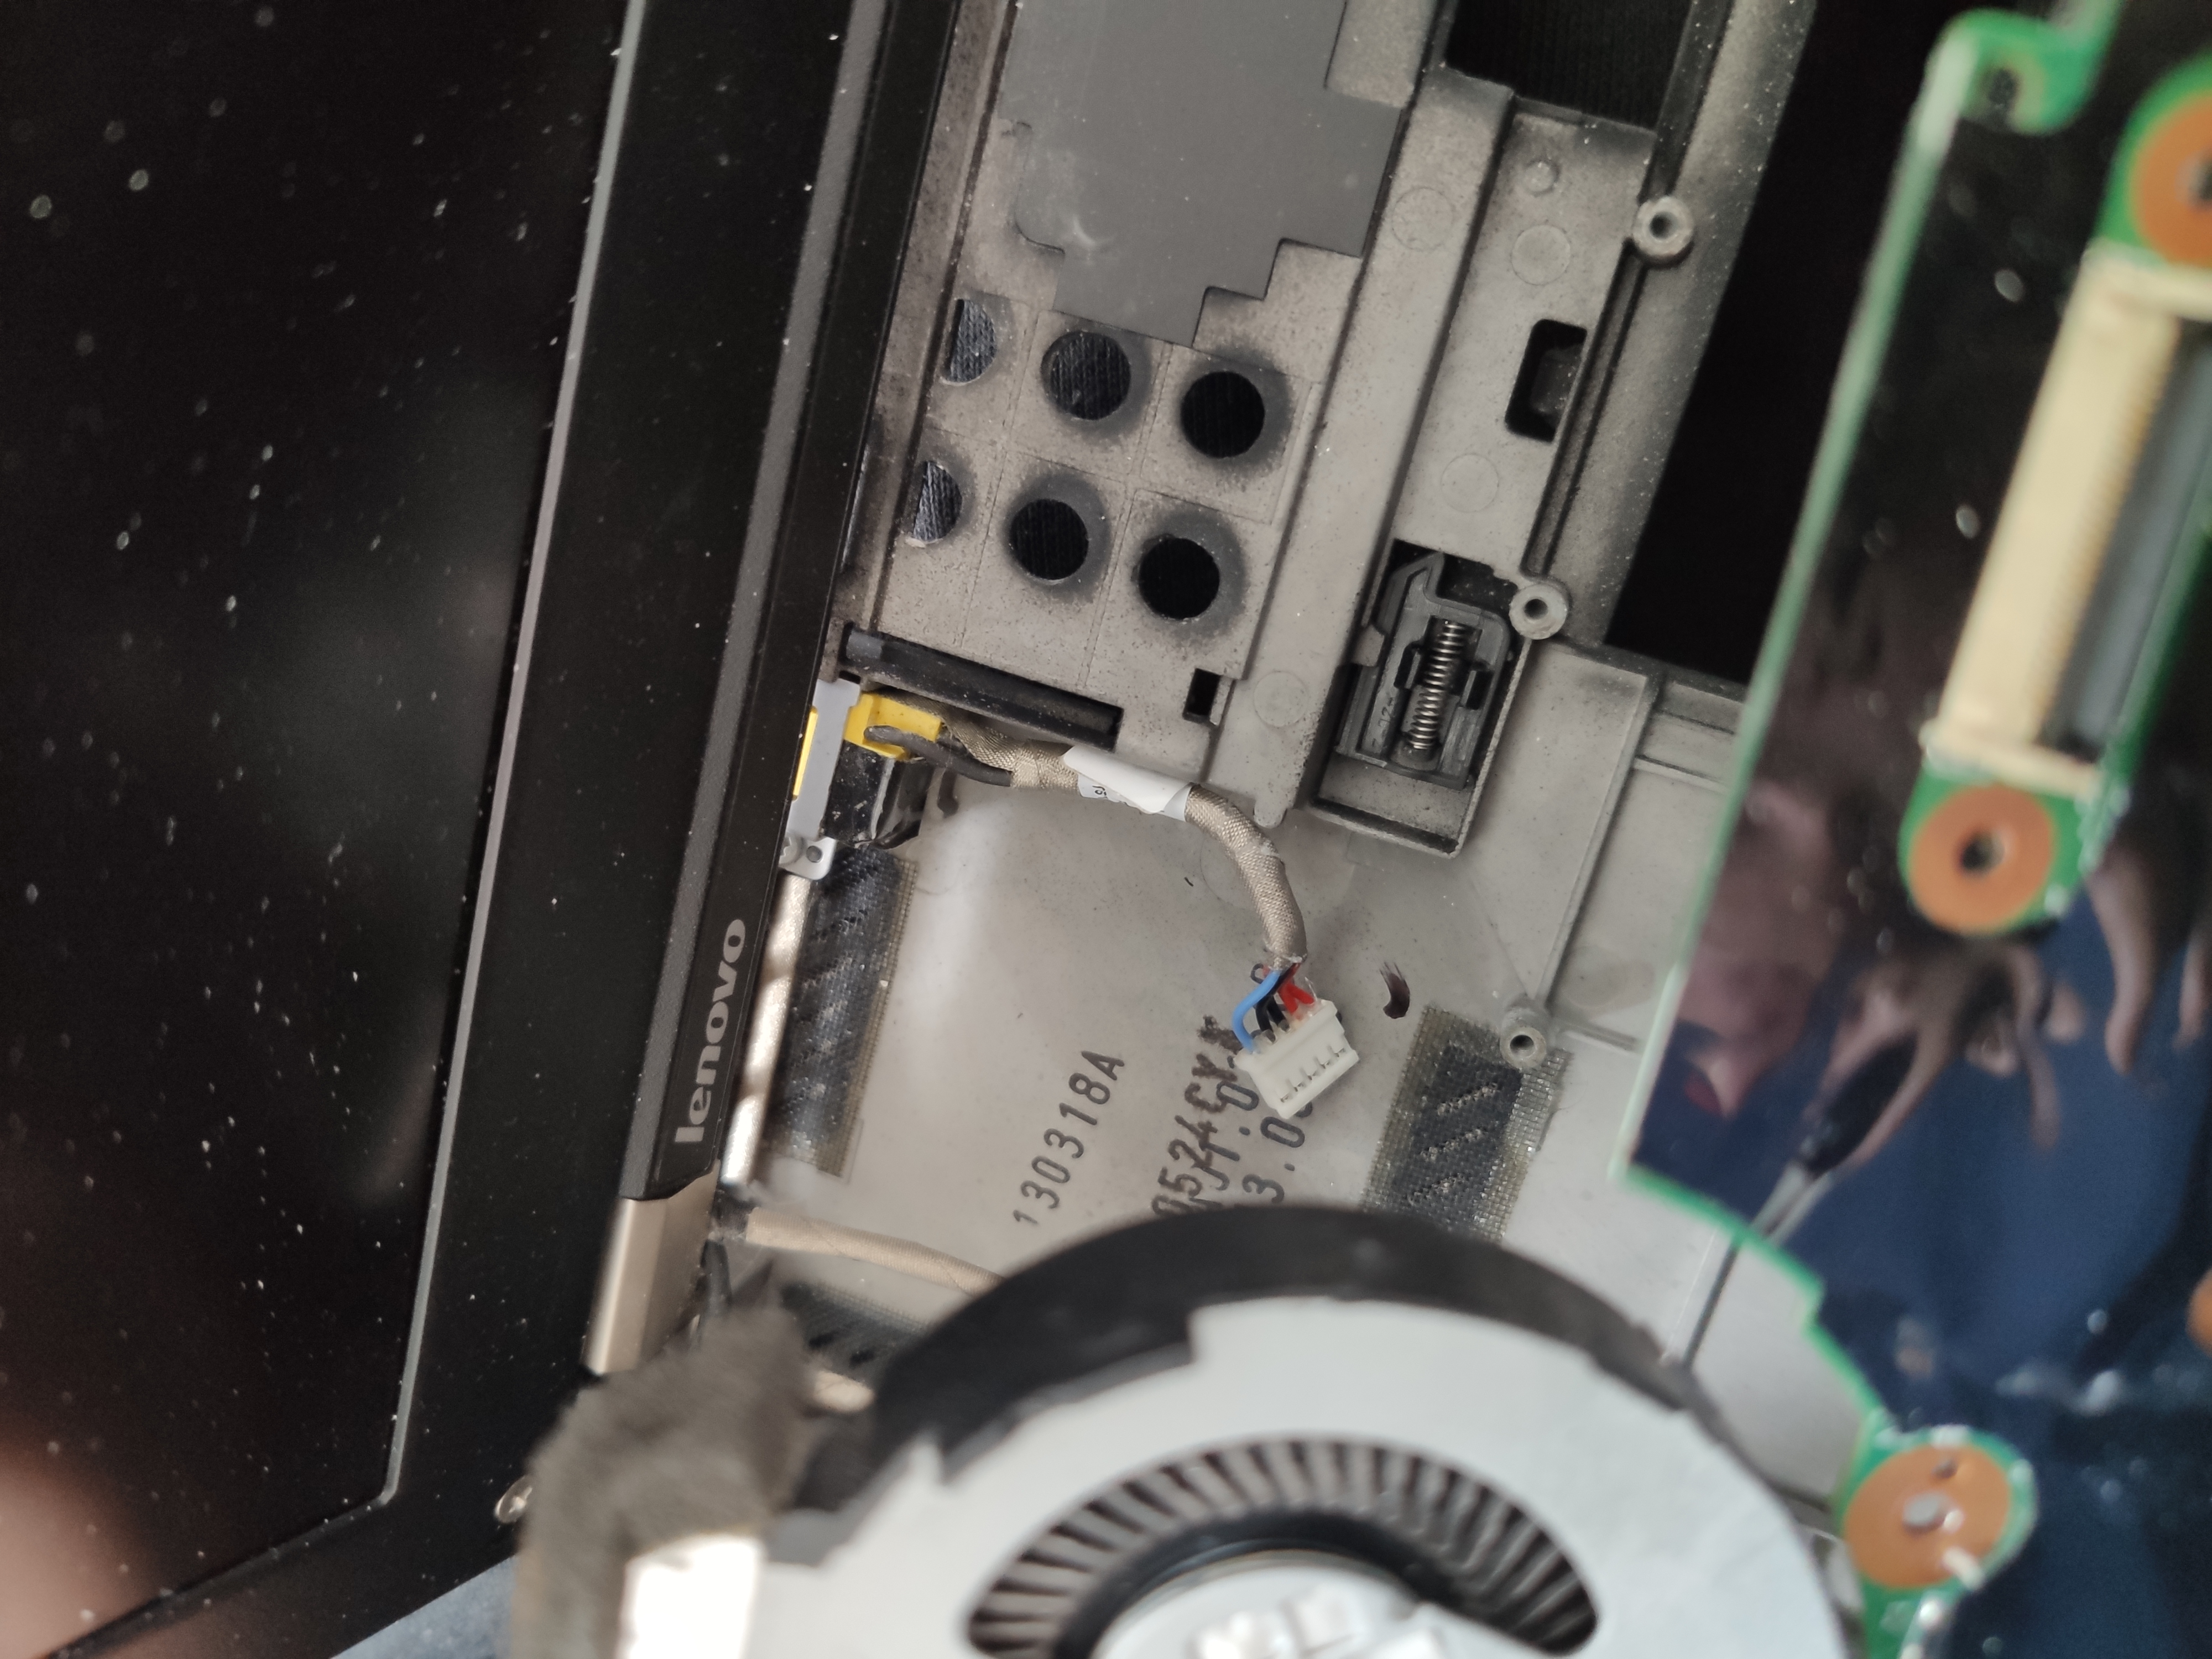
After this I removed the old jack, leaving it in as I don’t want a gaping hole in the back. I moved this out of the way and taped it making sure I could get the motherboard back in and that the wire doesn’t touch the fan blades. I moved this over to the right and secured it down with tape.
I then stripped the wires here, both red wires can be tied together and soldered. Same goes for the black.
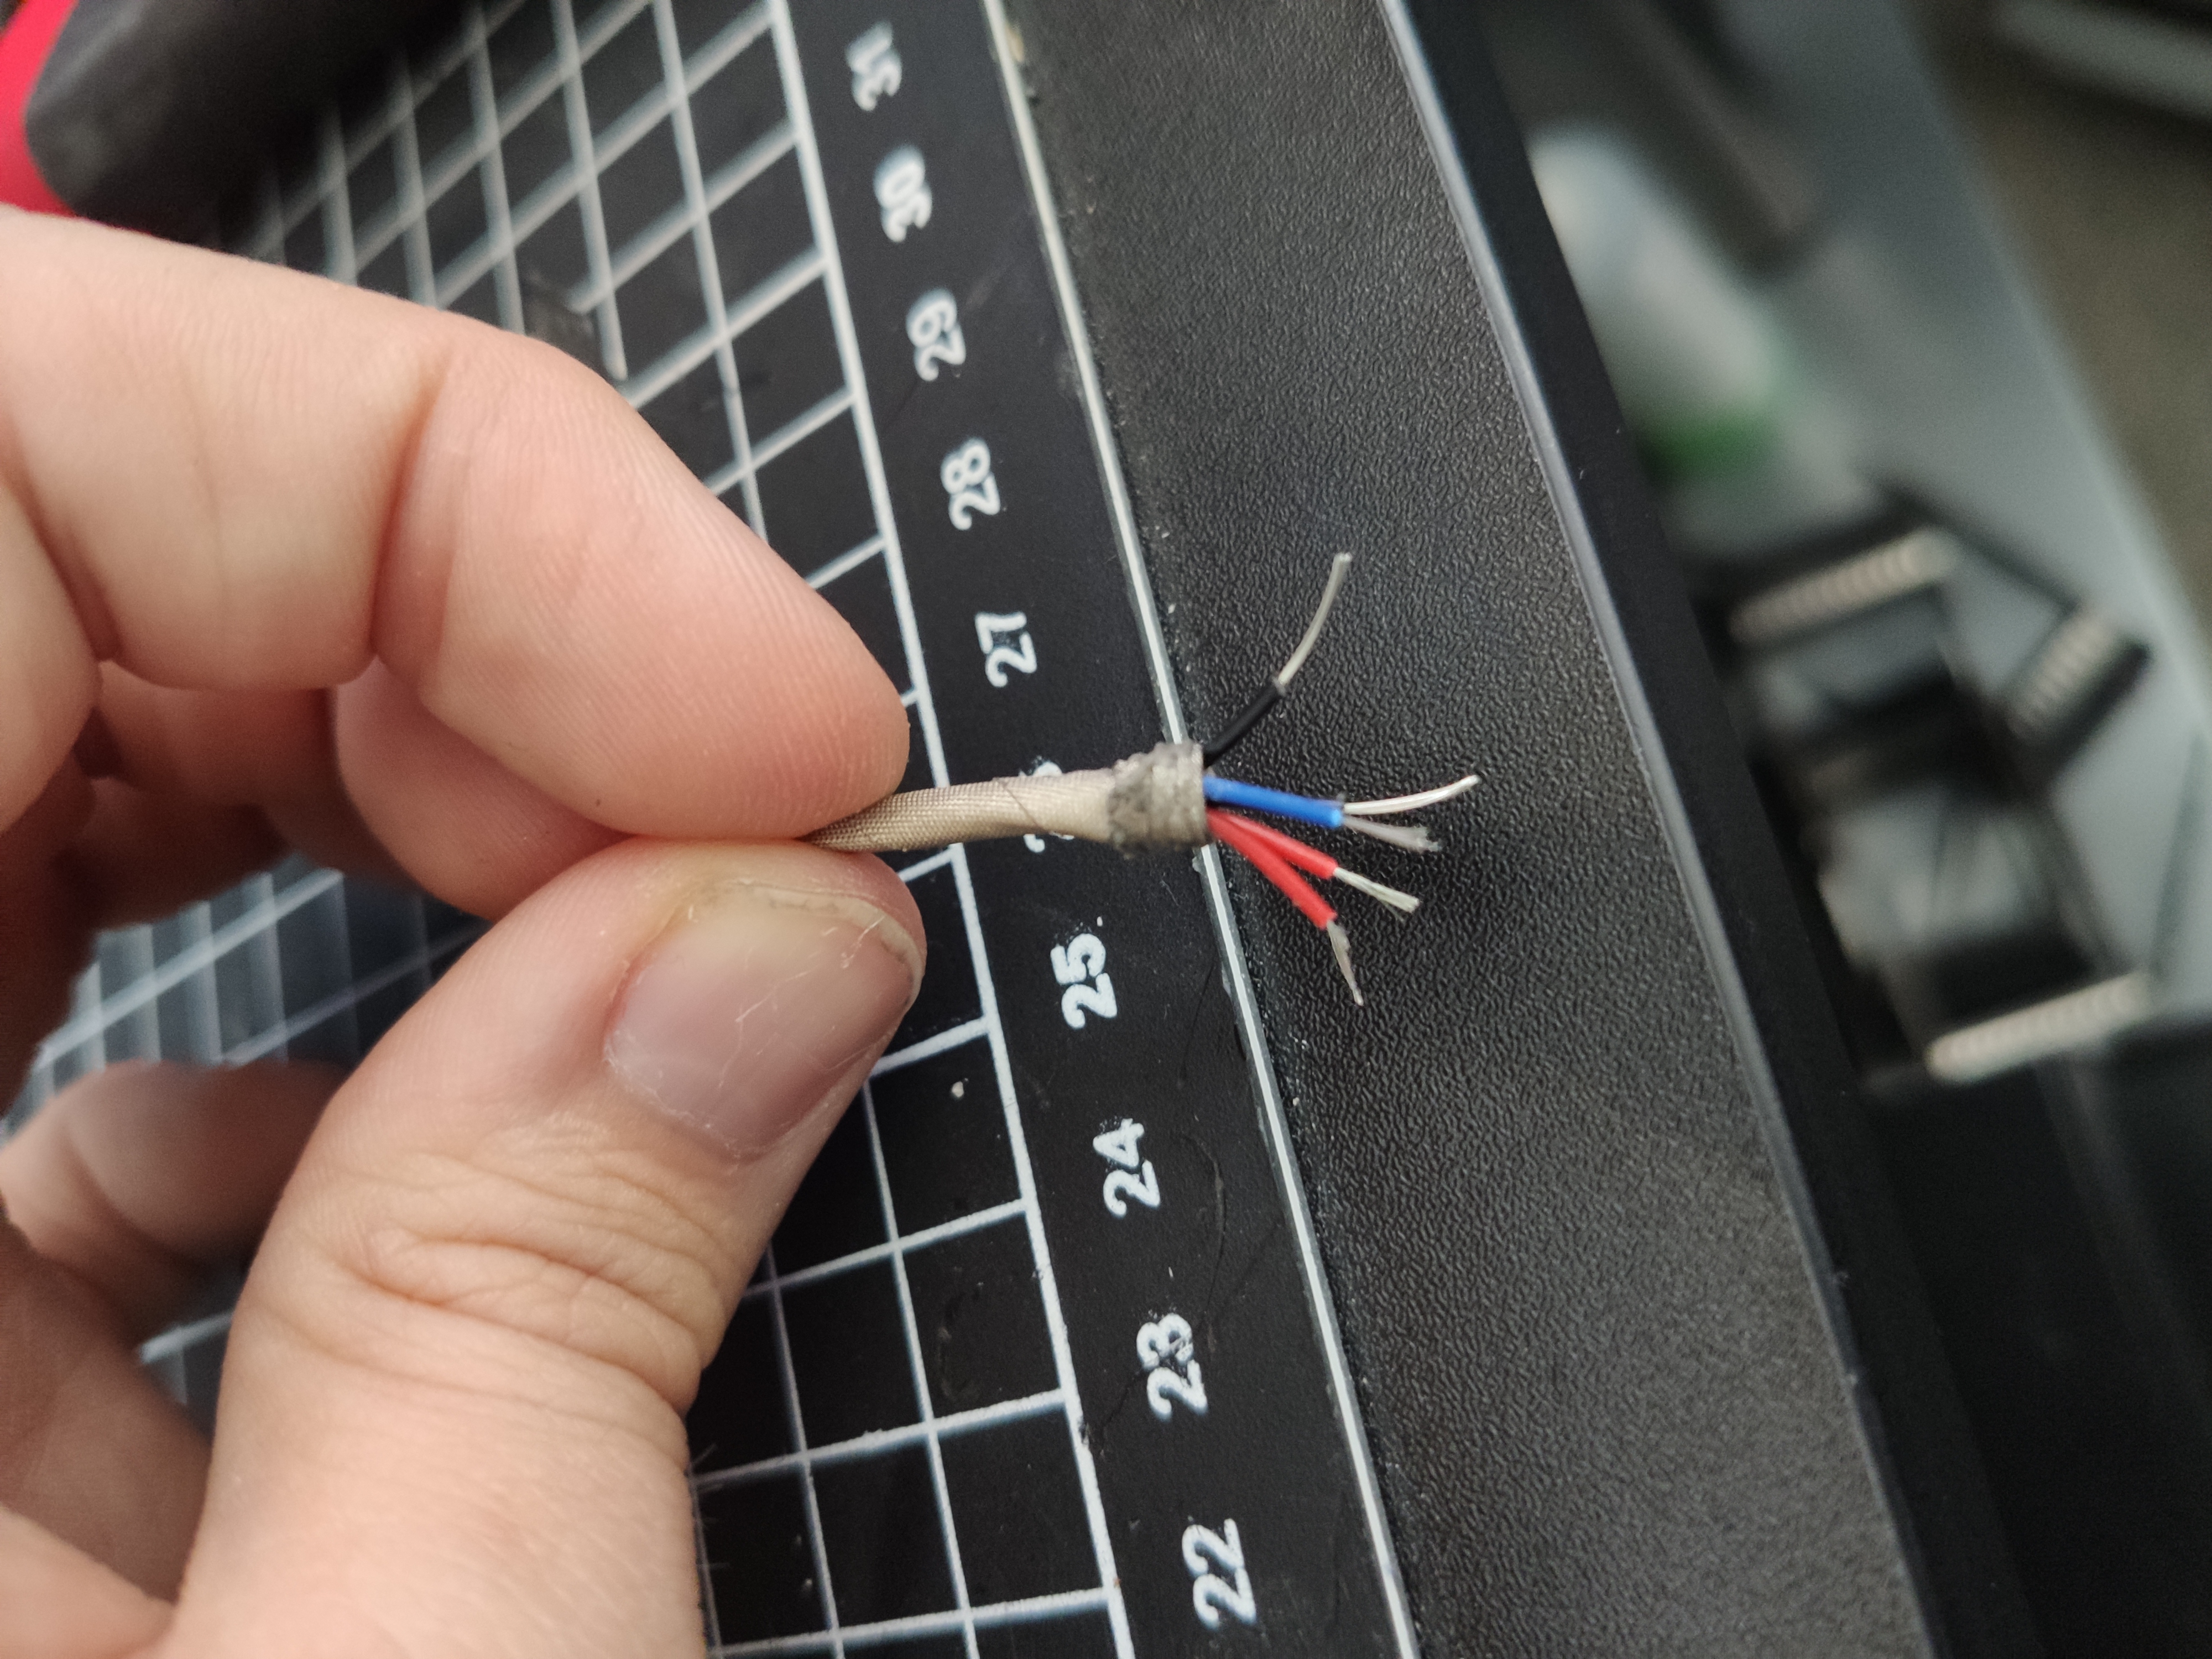
Here the 20V red wires will need to be soldered to + on the ZYPDS, black wires to - and the blue also needs to go to ground but through a 10k OHM resistor.
After this it was a case of aligning the USB C with the former kensington hole on the side and securing it. I chose hot glue which worked out well. Here is a picture of it charging on Fedora 34.
